The most misunderstood option in cosmetic dentistry
A lot of patients walk in asking for no-prep veneers by name. They've read about them online, they want to preserve as much of their natural tooth as possible, and they like the idea of the gentlest possible route to a beautiful smile.
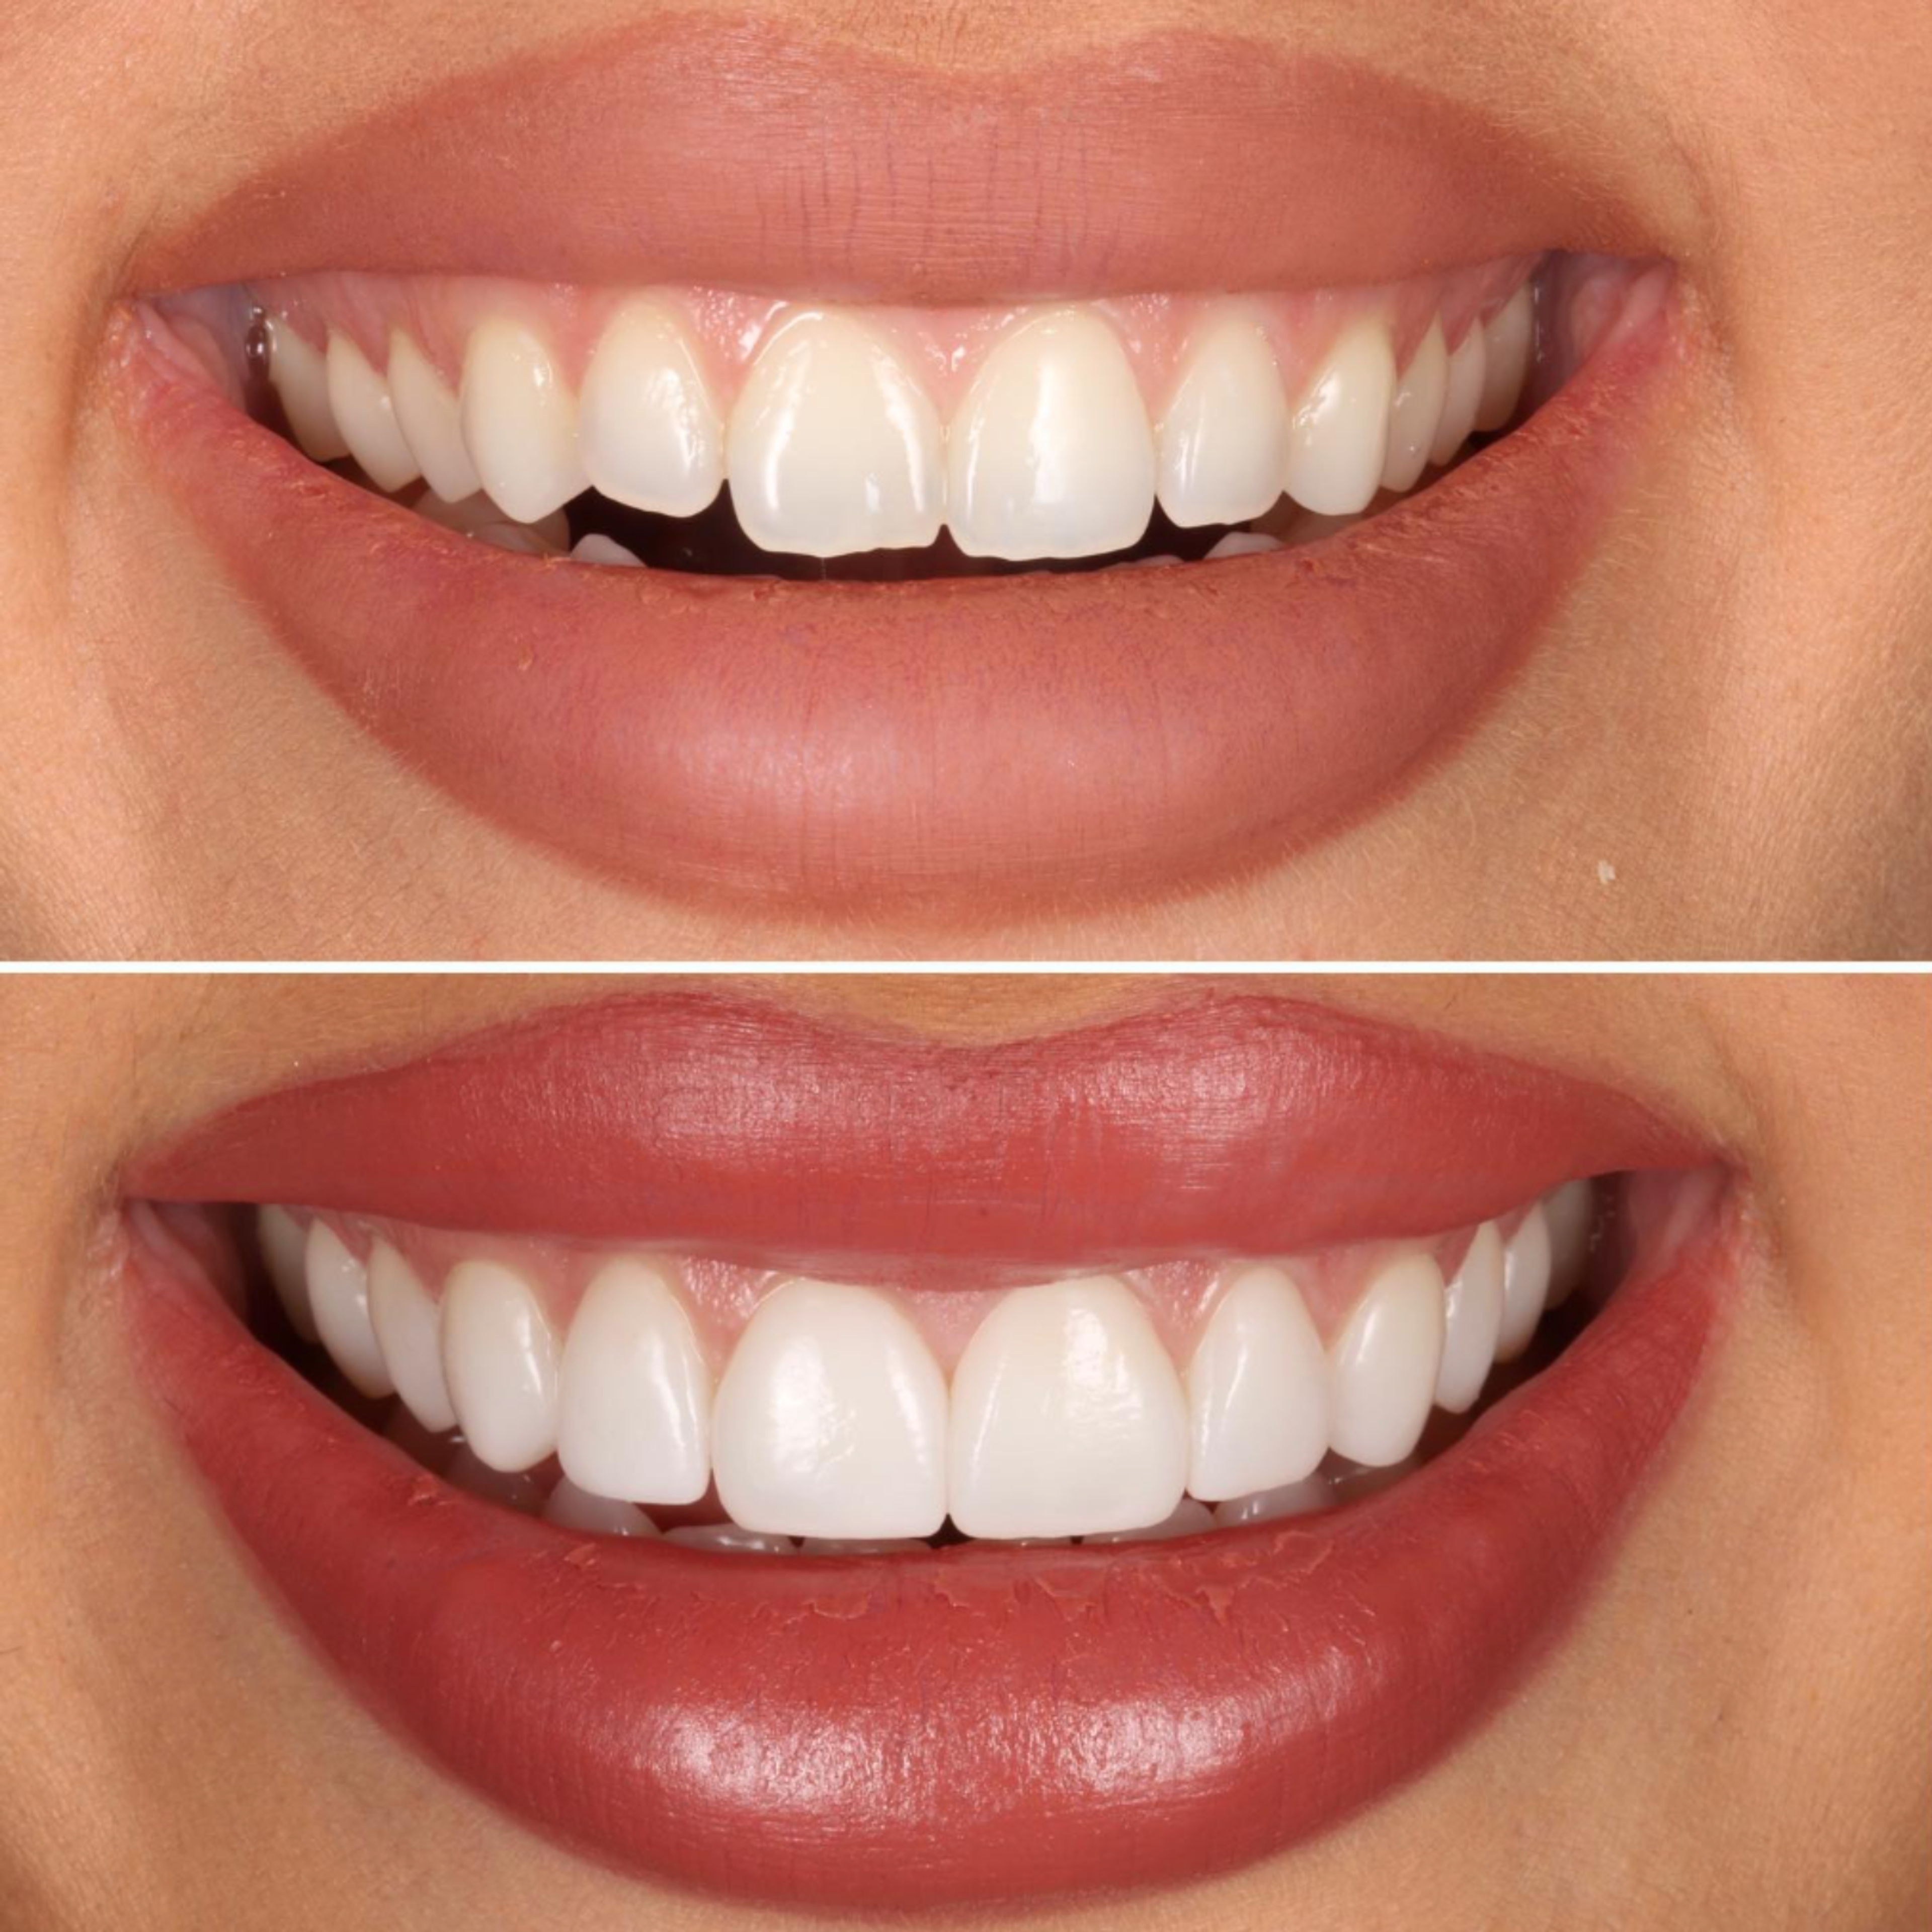
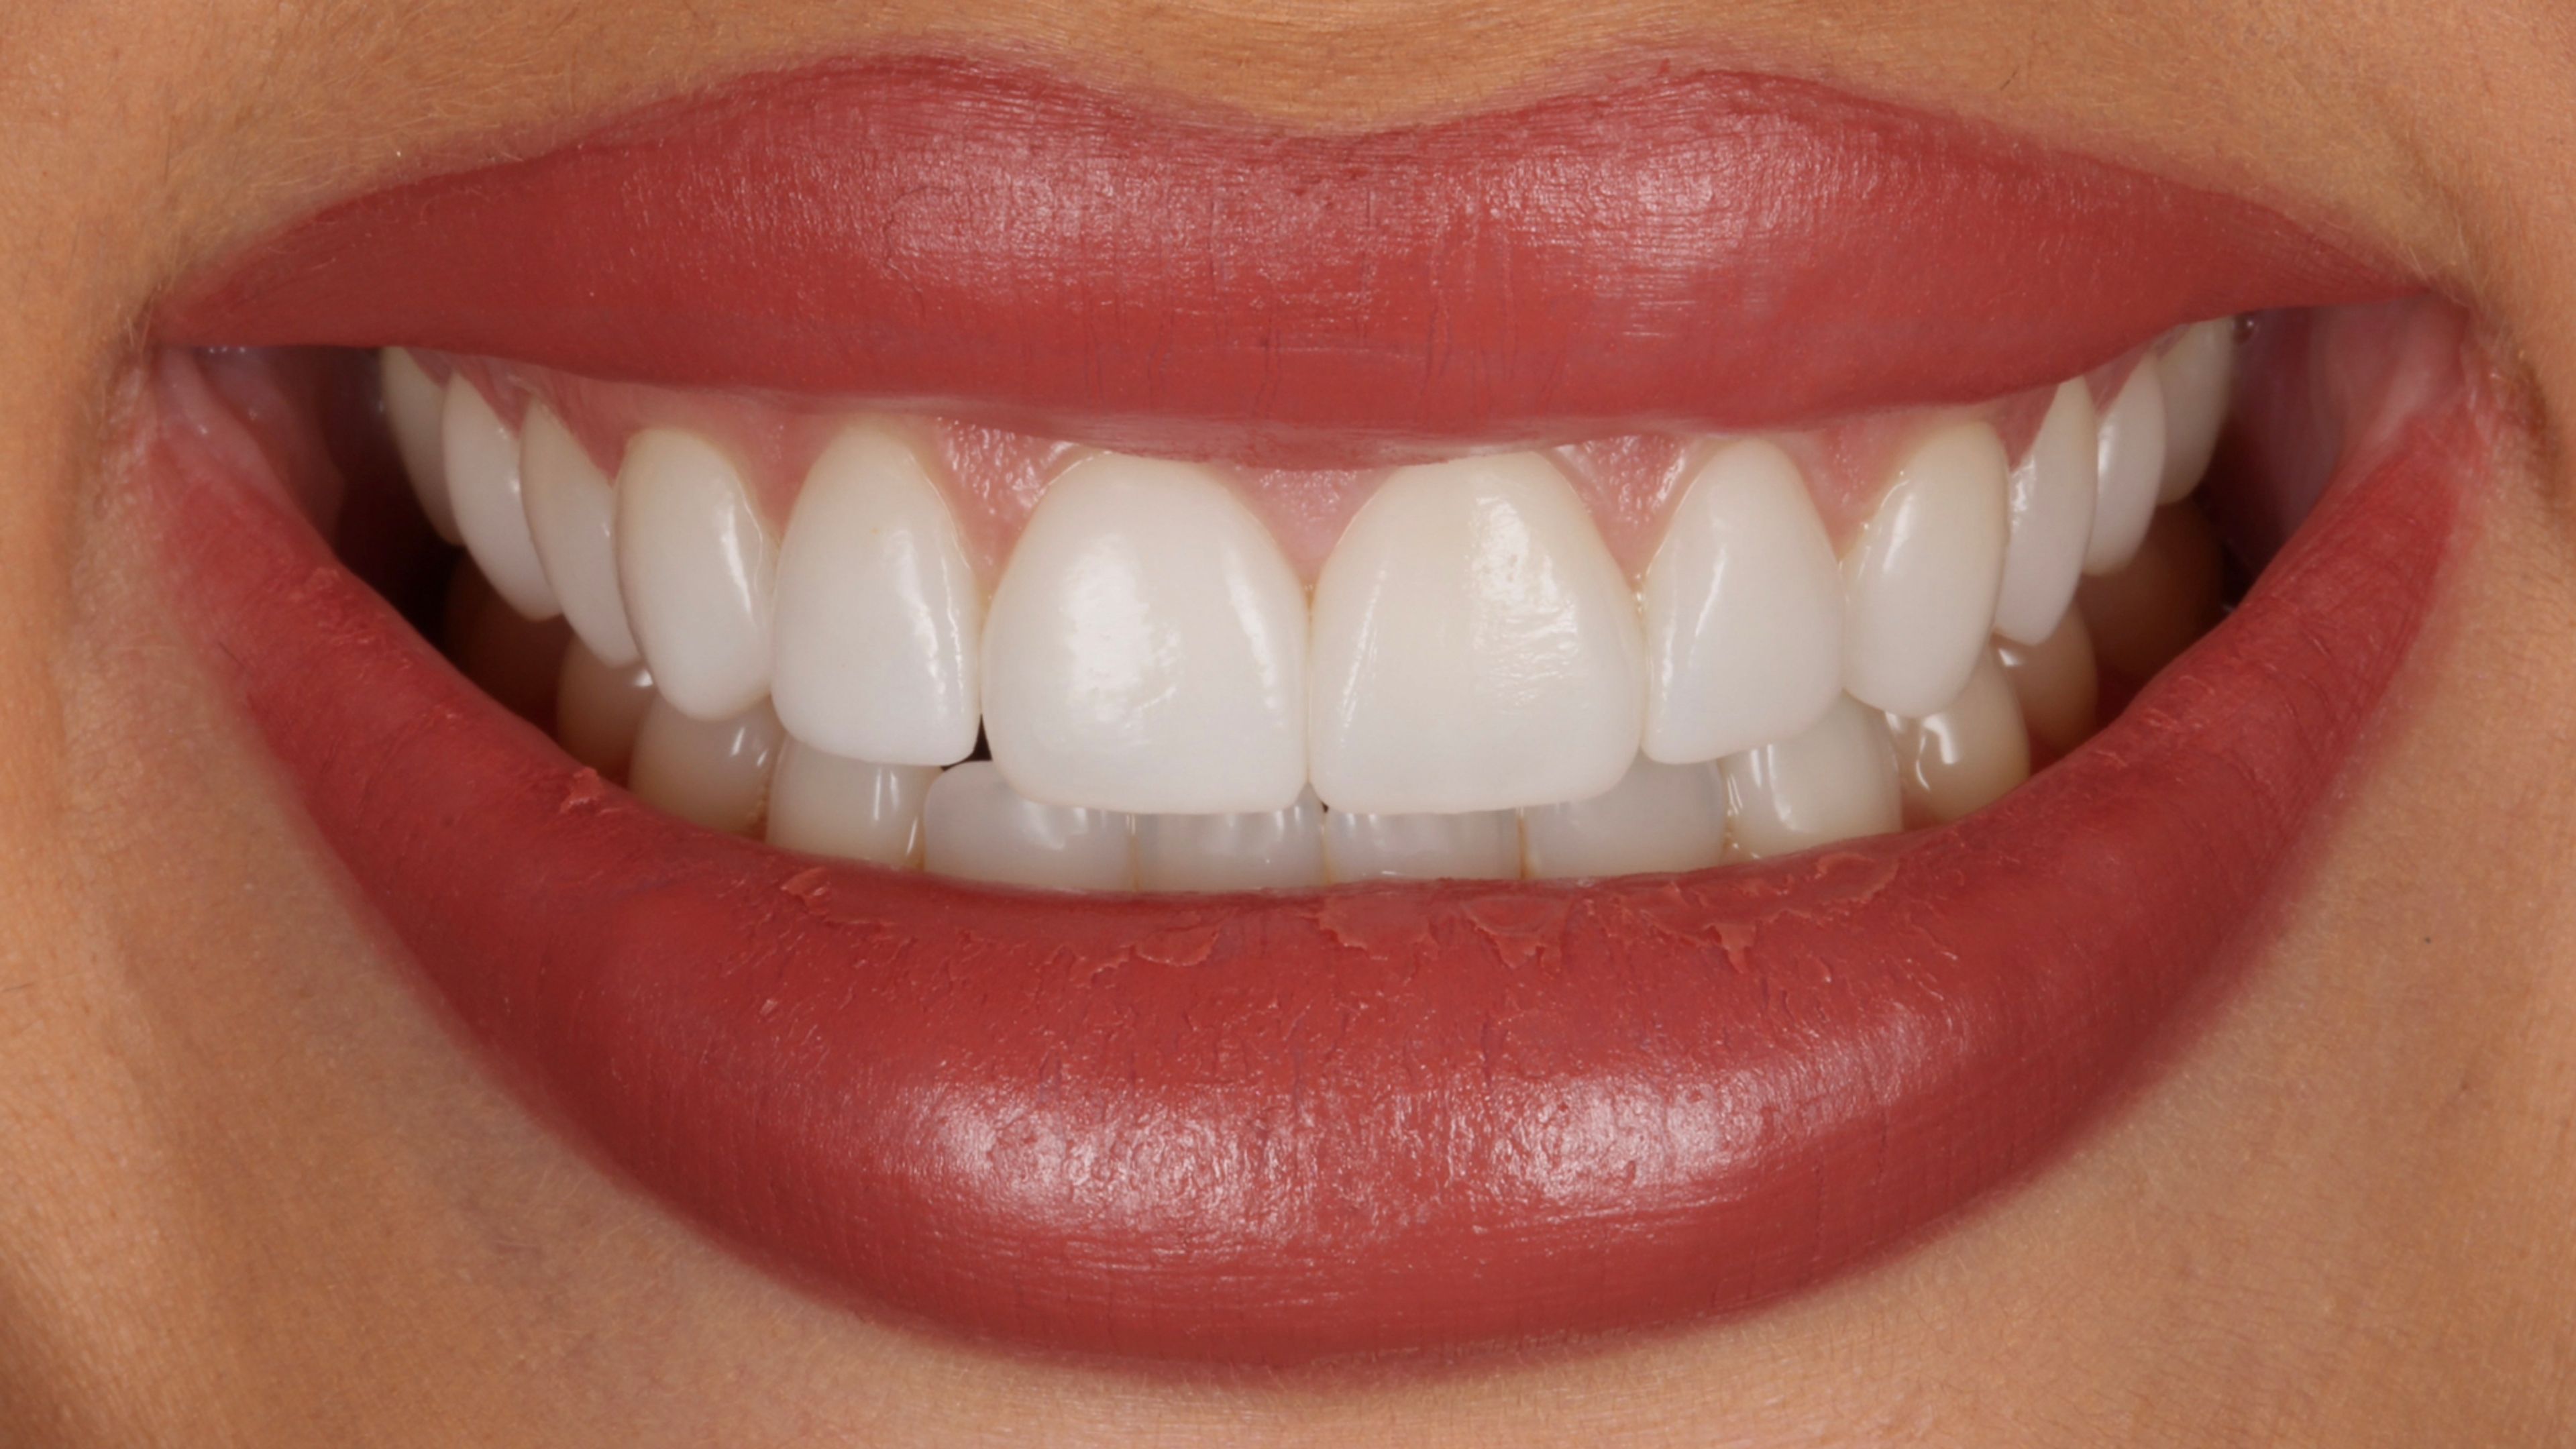
When no-prep is the right answer, it's beautiful work. Porcelain bonded to teeth that have barely been touched. A transformation that looks like nature improved on itself.
But no-prep veneers are also where I see some of the worst cosmetic dentistry. The bulky, opaque, "Chiclet" smiles that make people feel self-conscious instead of confident? Most of those are no-prep cases done on patients who weren't candidates in the first place.
This is a long article because no-prep veneers are nuanced, and the patients who end up with the best results are the ones who walk into the consultation chair understanding the nuance.
If you're researching whether no-prep is right for you, this is the resource I wish existed when I started doing this work. We'll cover what no-prep actually means (it's not what you think), who's a real candidate, the failure mode that produces the bulky look, and exactly what to ask any cosmetic dentist before you let them touch your smile.
What no-prep actually means
The term "no-prep" suggests that the tooth is never touched. That isn't quite accurate.
What no-prep really means is that no significant tooth structure is removed. We aren't reducing the tooth to make space for the veneer. The natural shape and dimensions of your tooth stay intact.
The surface of the tooth almost always needs some refinement, though. We might:
- Soften a sharp edge so the veneer can seat without catching
- Smooth a rough or pitted area so the bond is uniform
- Remove an undercut, which is a shape that would prevent the veneer from sliding into place
- Polish away surface irregularities that would weaken adhesion
These adjustments are minor. They happen at the surface of the enamel, not into it. From the patient's perspective, it doesn't feel like preparation in the traditional sense. There's no drilling into the tooth, no significant reduction. But to call it "zero contact" wouldn't be honest.
This is why marketing claims of "no drilling, ever" usually overstate what's clinically realistic. A great no-prep result still involves a clinician's hands and tools refining the surface so the veneer can bond beautifully and seamlessly. That nuance is part of what separates a great no-prep case from one that goes sideways.
Why preserving enamel is worth the conversation
Enamel is the hardest substance in your body. It's also one of the few things your body cannot regenerate. Once it's removed, it's gone.
Traditional veneer preparation removes a noticeable layer of enamel, sometimes half a millimeter or more across the entire front surface. That's a permanent change. It commits the tooth to having a veneer or crown for the rest of its life, because the underlying tooth is no longer protected the way nature designed it to be.
For some patients, that tradeoff is the right one. The aesthetic and structural benefit of a properly prepared veneer outweighs the loss of enamel. For others, especially those with healthy, intact teeth and modest goals, preserving every bit of enamel is the obvious play.
This is the case for no-prep, when the situation calls for it. You keep the tooth nature gave you. The veneer becomes an addition rather than a replacement of structure.
Important to remember though: preserving enamel is not the same as preserving aesthetics. A no-prep veneer placed on the wrong patient will look worse than a beautifully prepared minimal-prep veneer placed on the right one. The technique should serve the outcome, not the other way around.
Who's actually a candidate
This is where most of the bad outcomes start: candidacy.
There are three things we look for when deciding whether no-prep is the right approach.
1. The goal is to add, not replace.
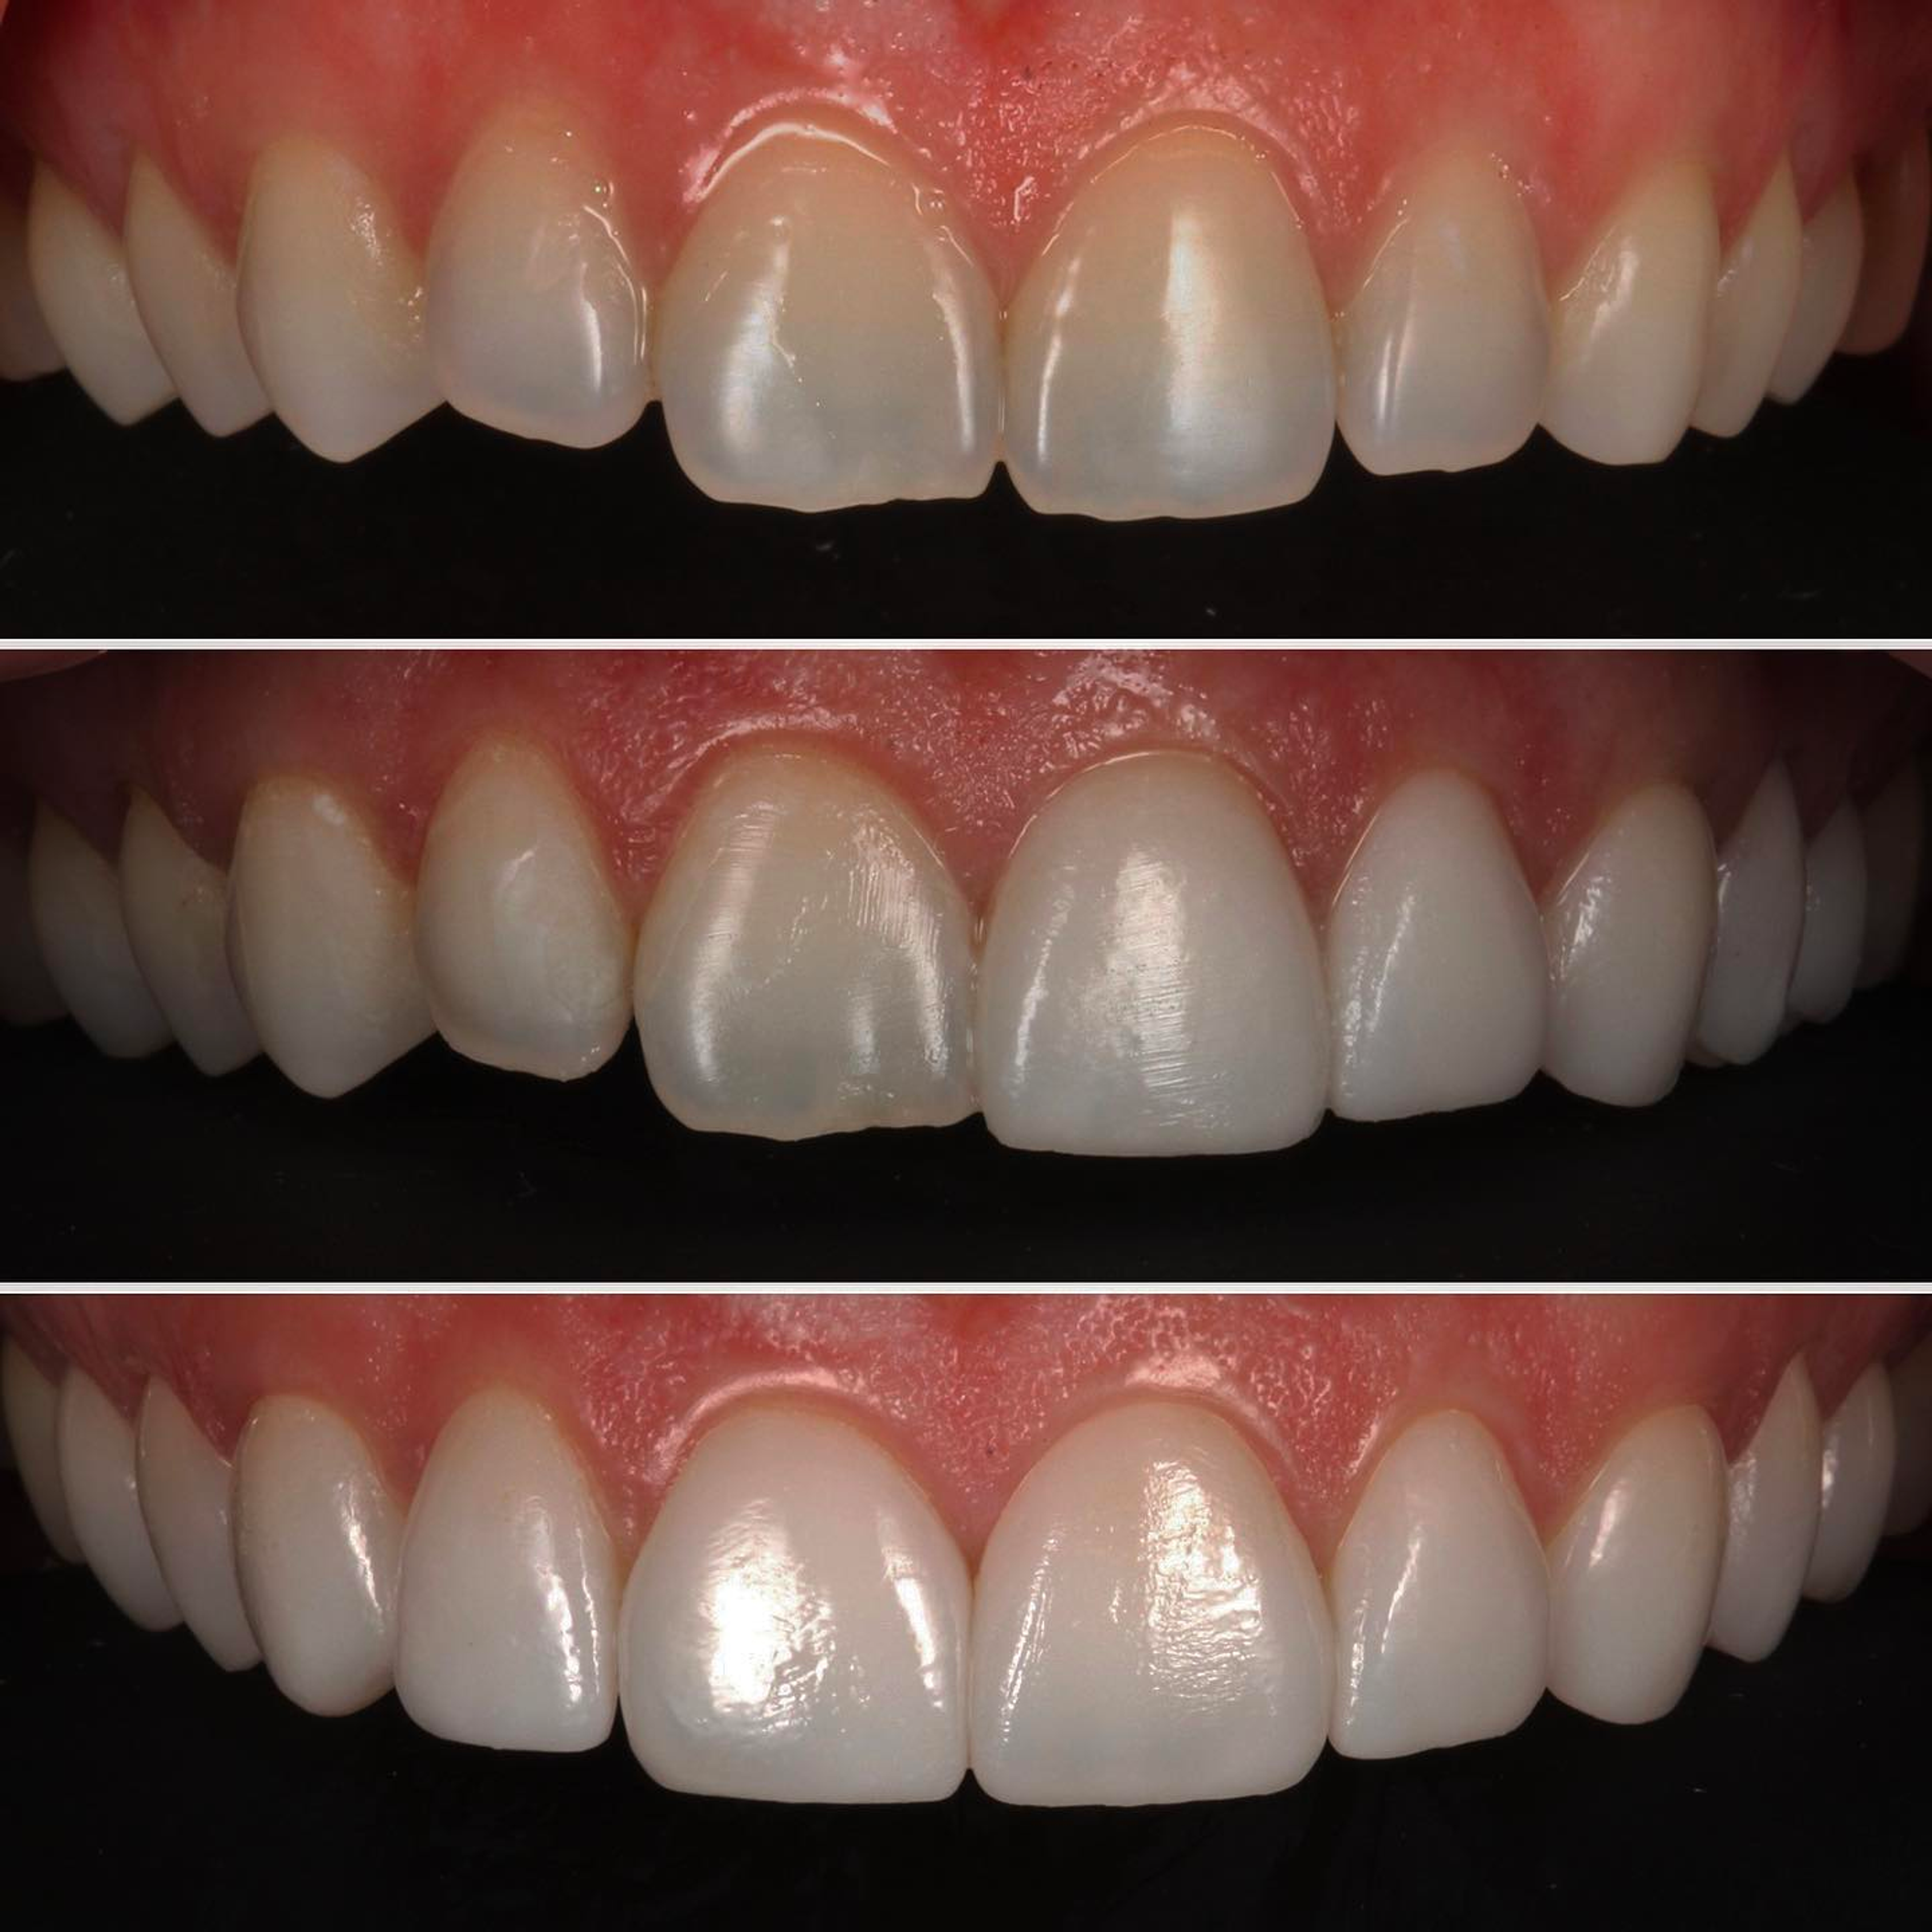
No-prep works when one of your aesthetic goals is to make teeth bigger, fuller, or more proportionate. Think:
- Small or undersized teeth that look out of balance with your face
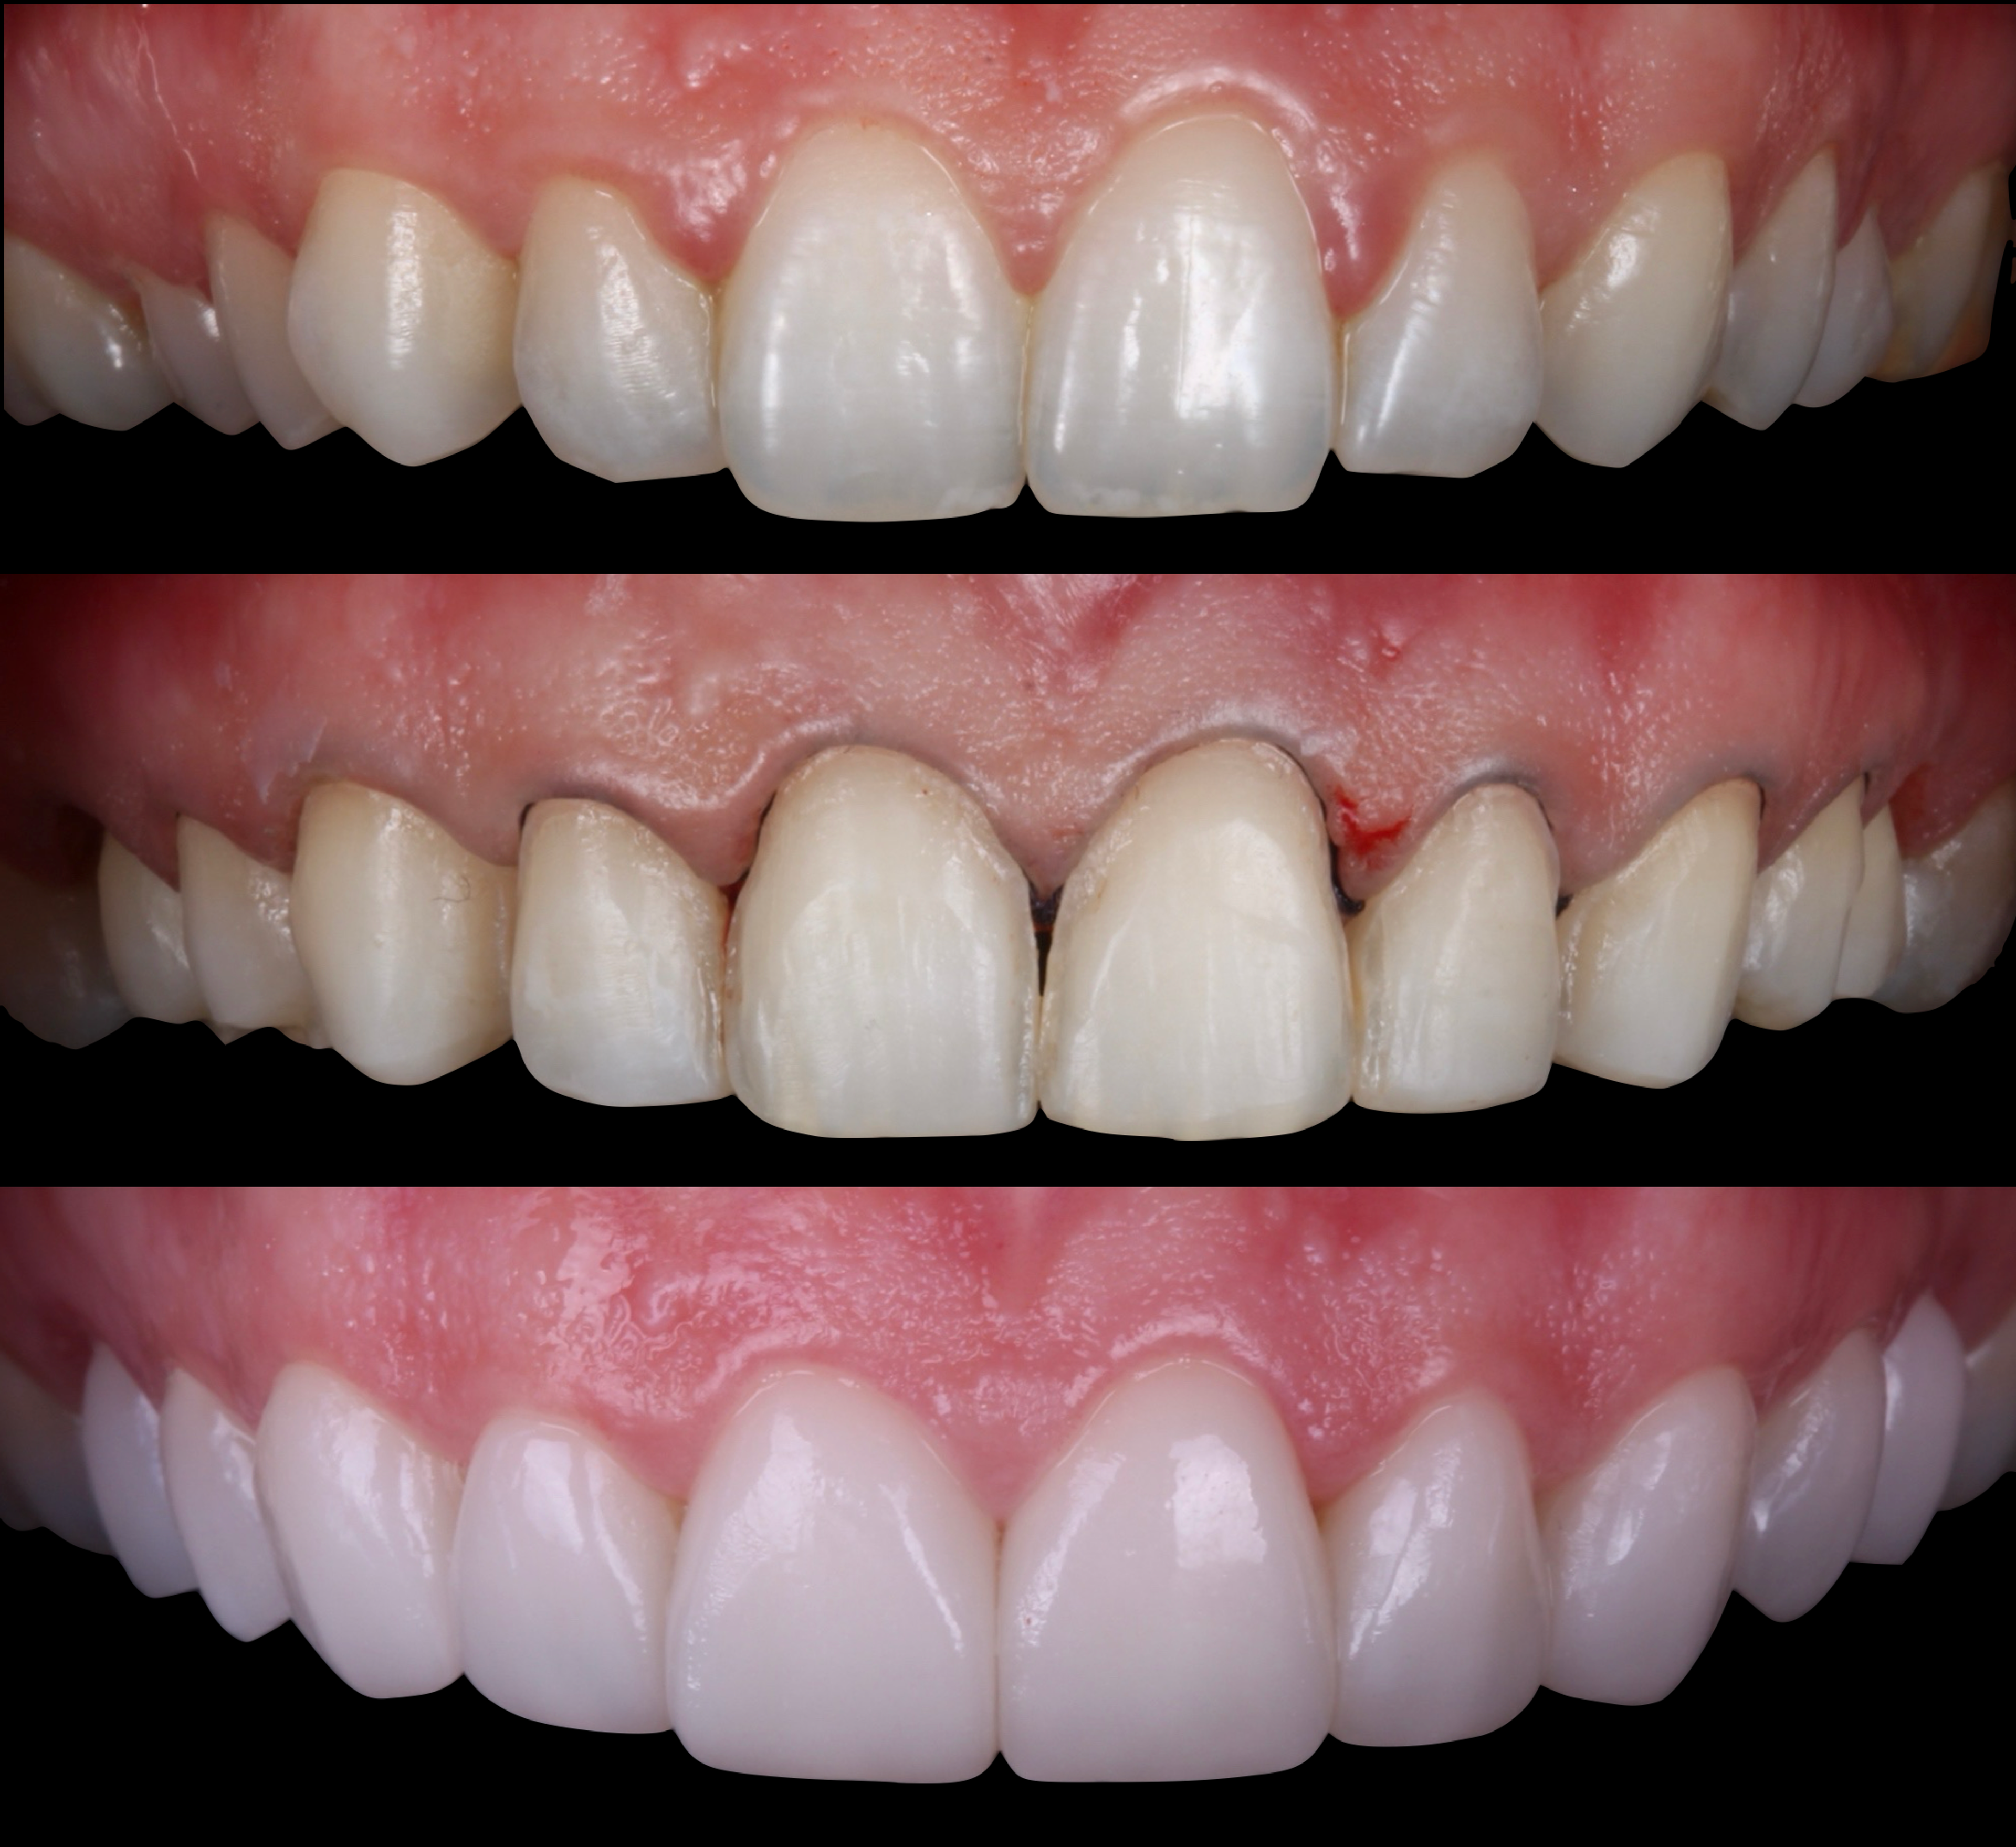
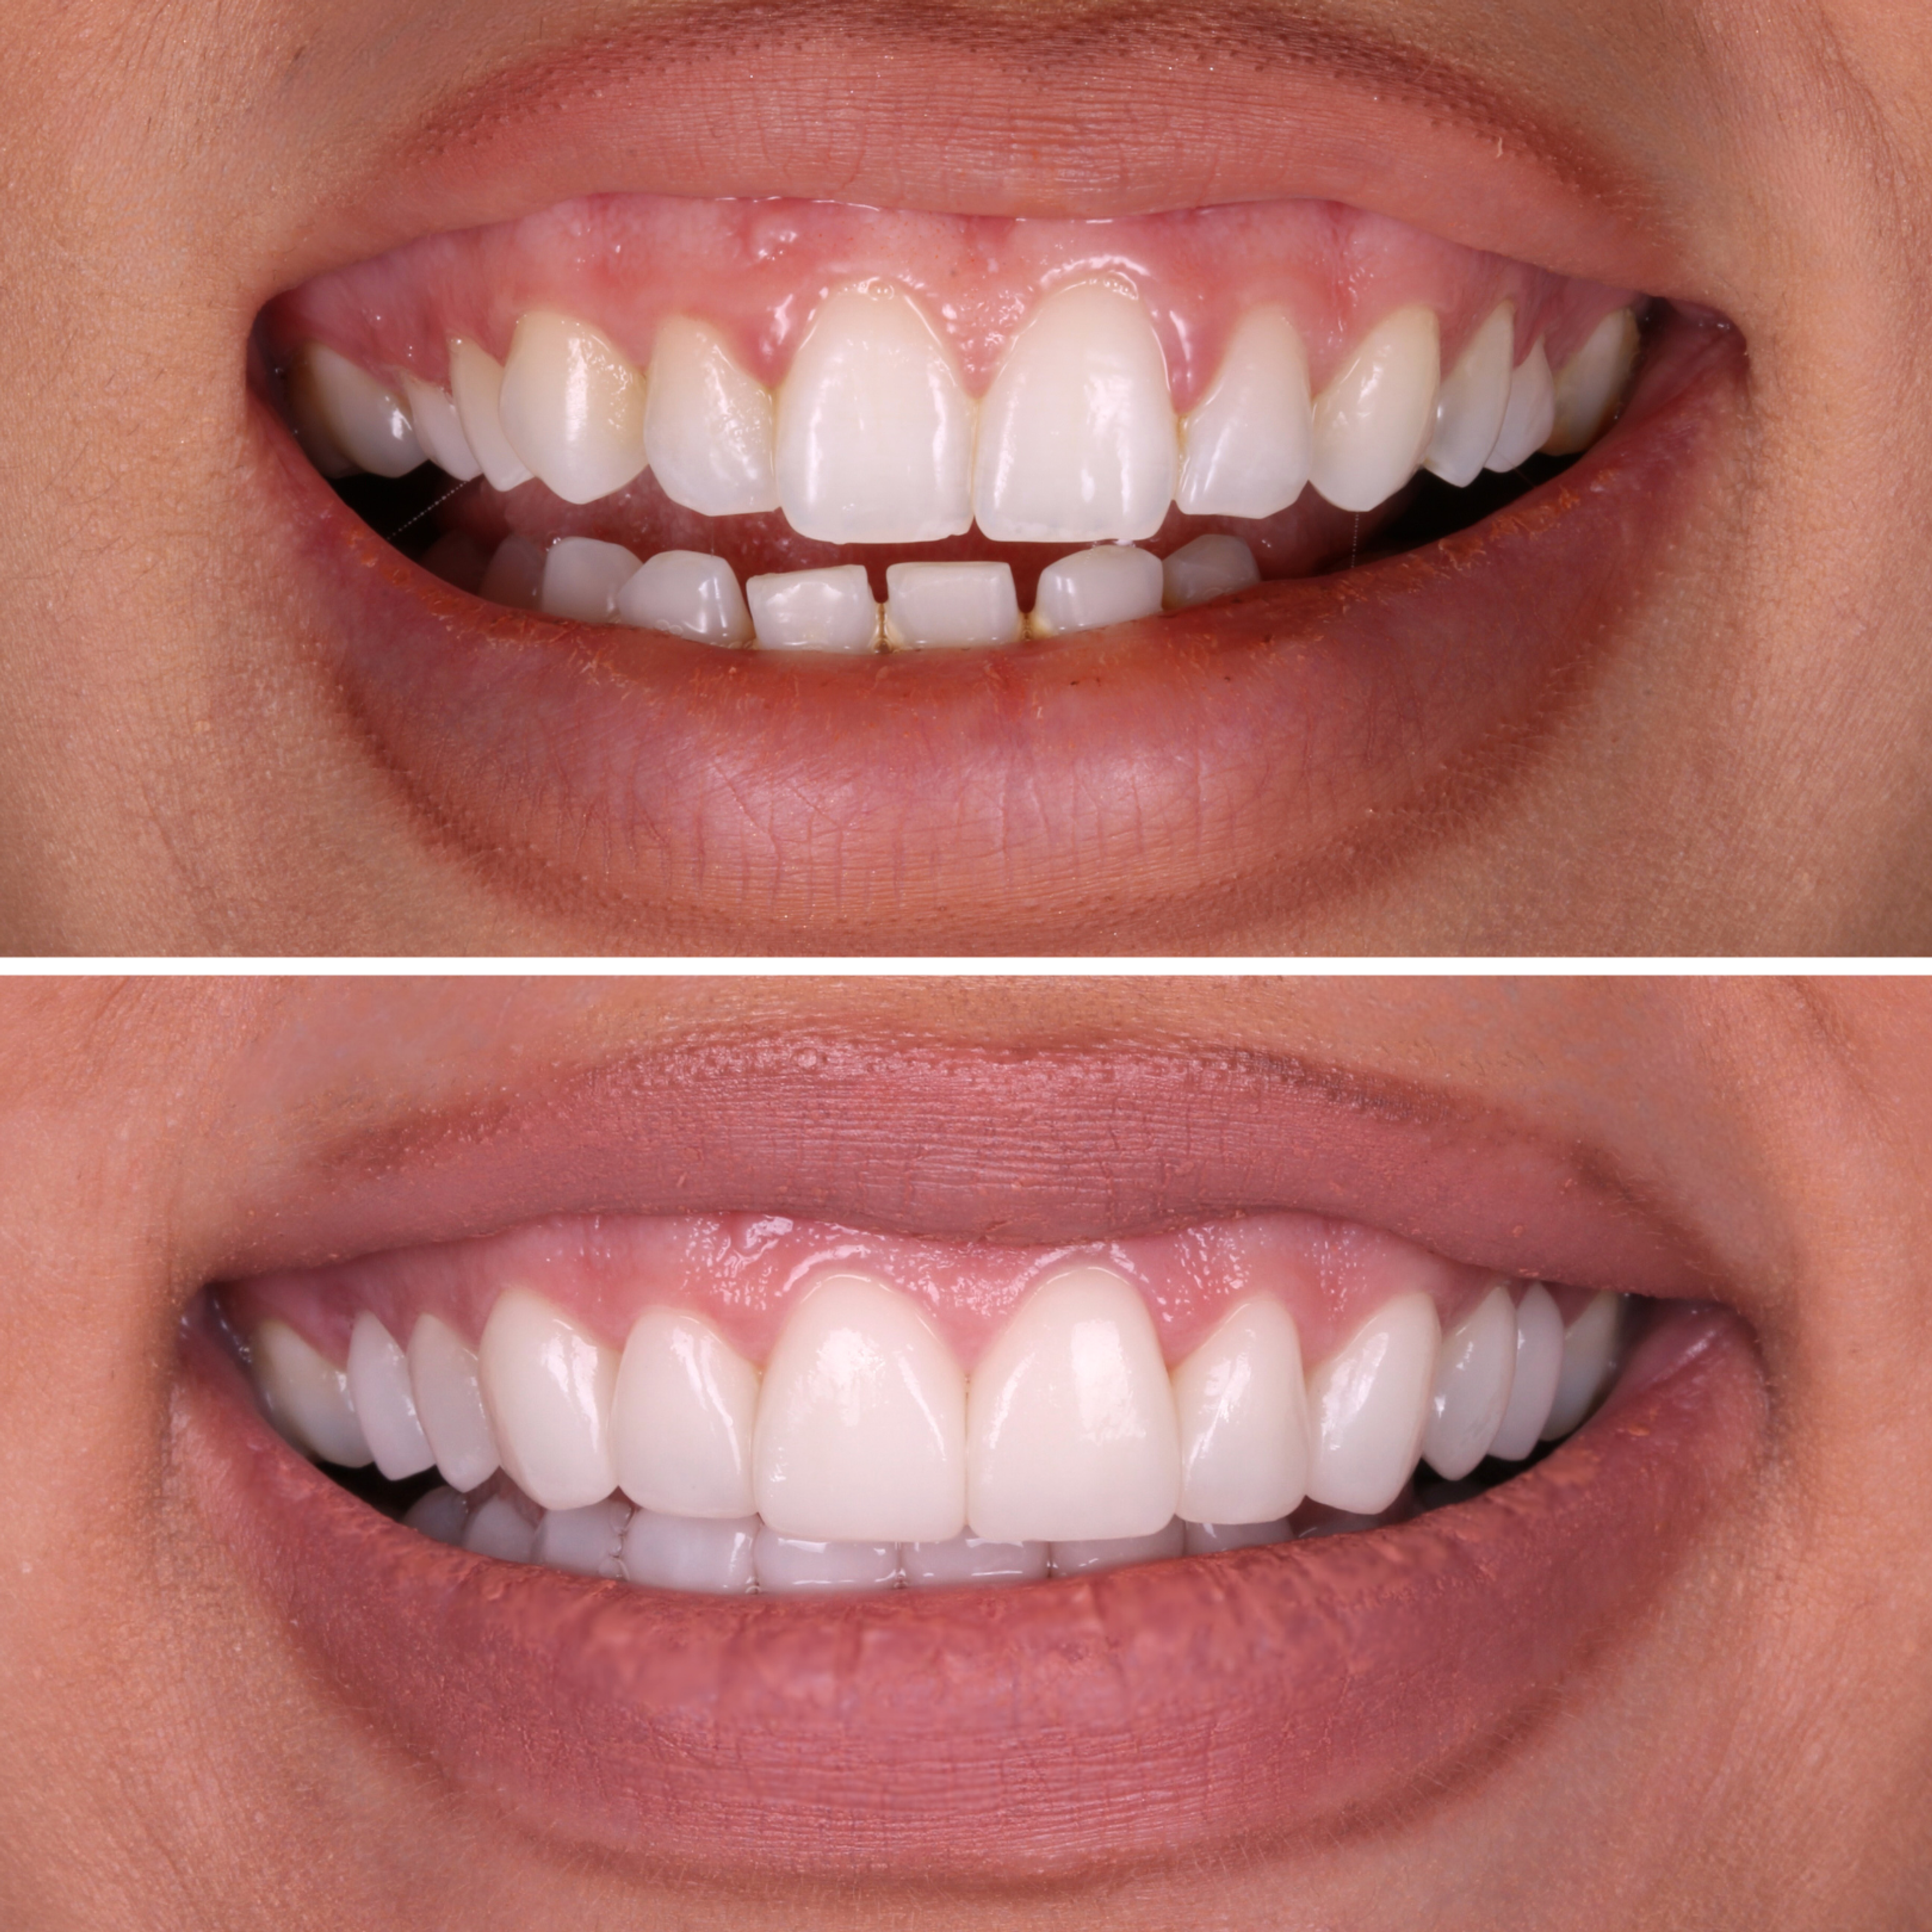
- Gaps between teeth you'd like closed
- Short teeth that have worn down over time
- A smile that feels too narrow or too "tucked in"
- Teeth that lean back slightly and could be brought forward
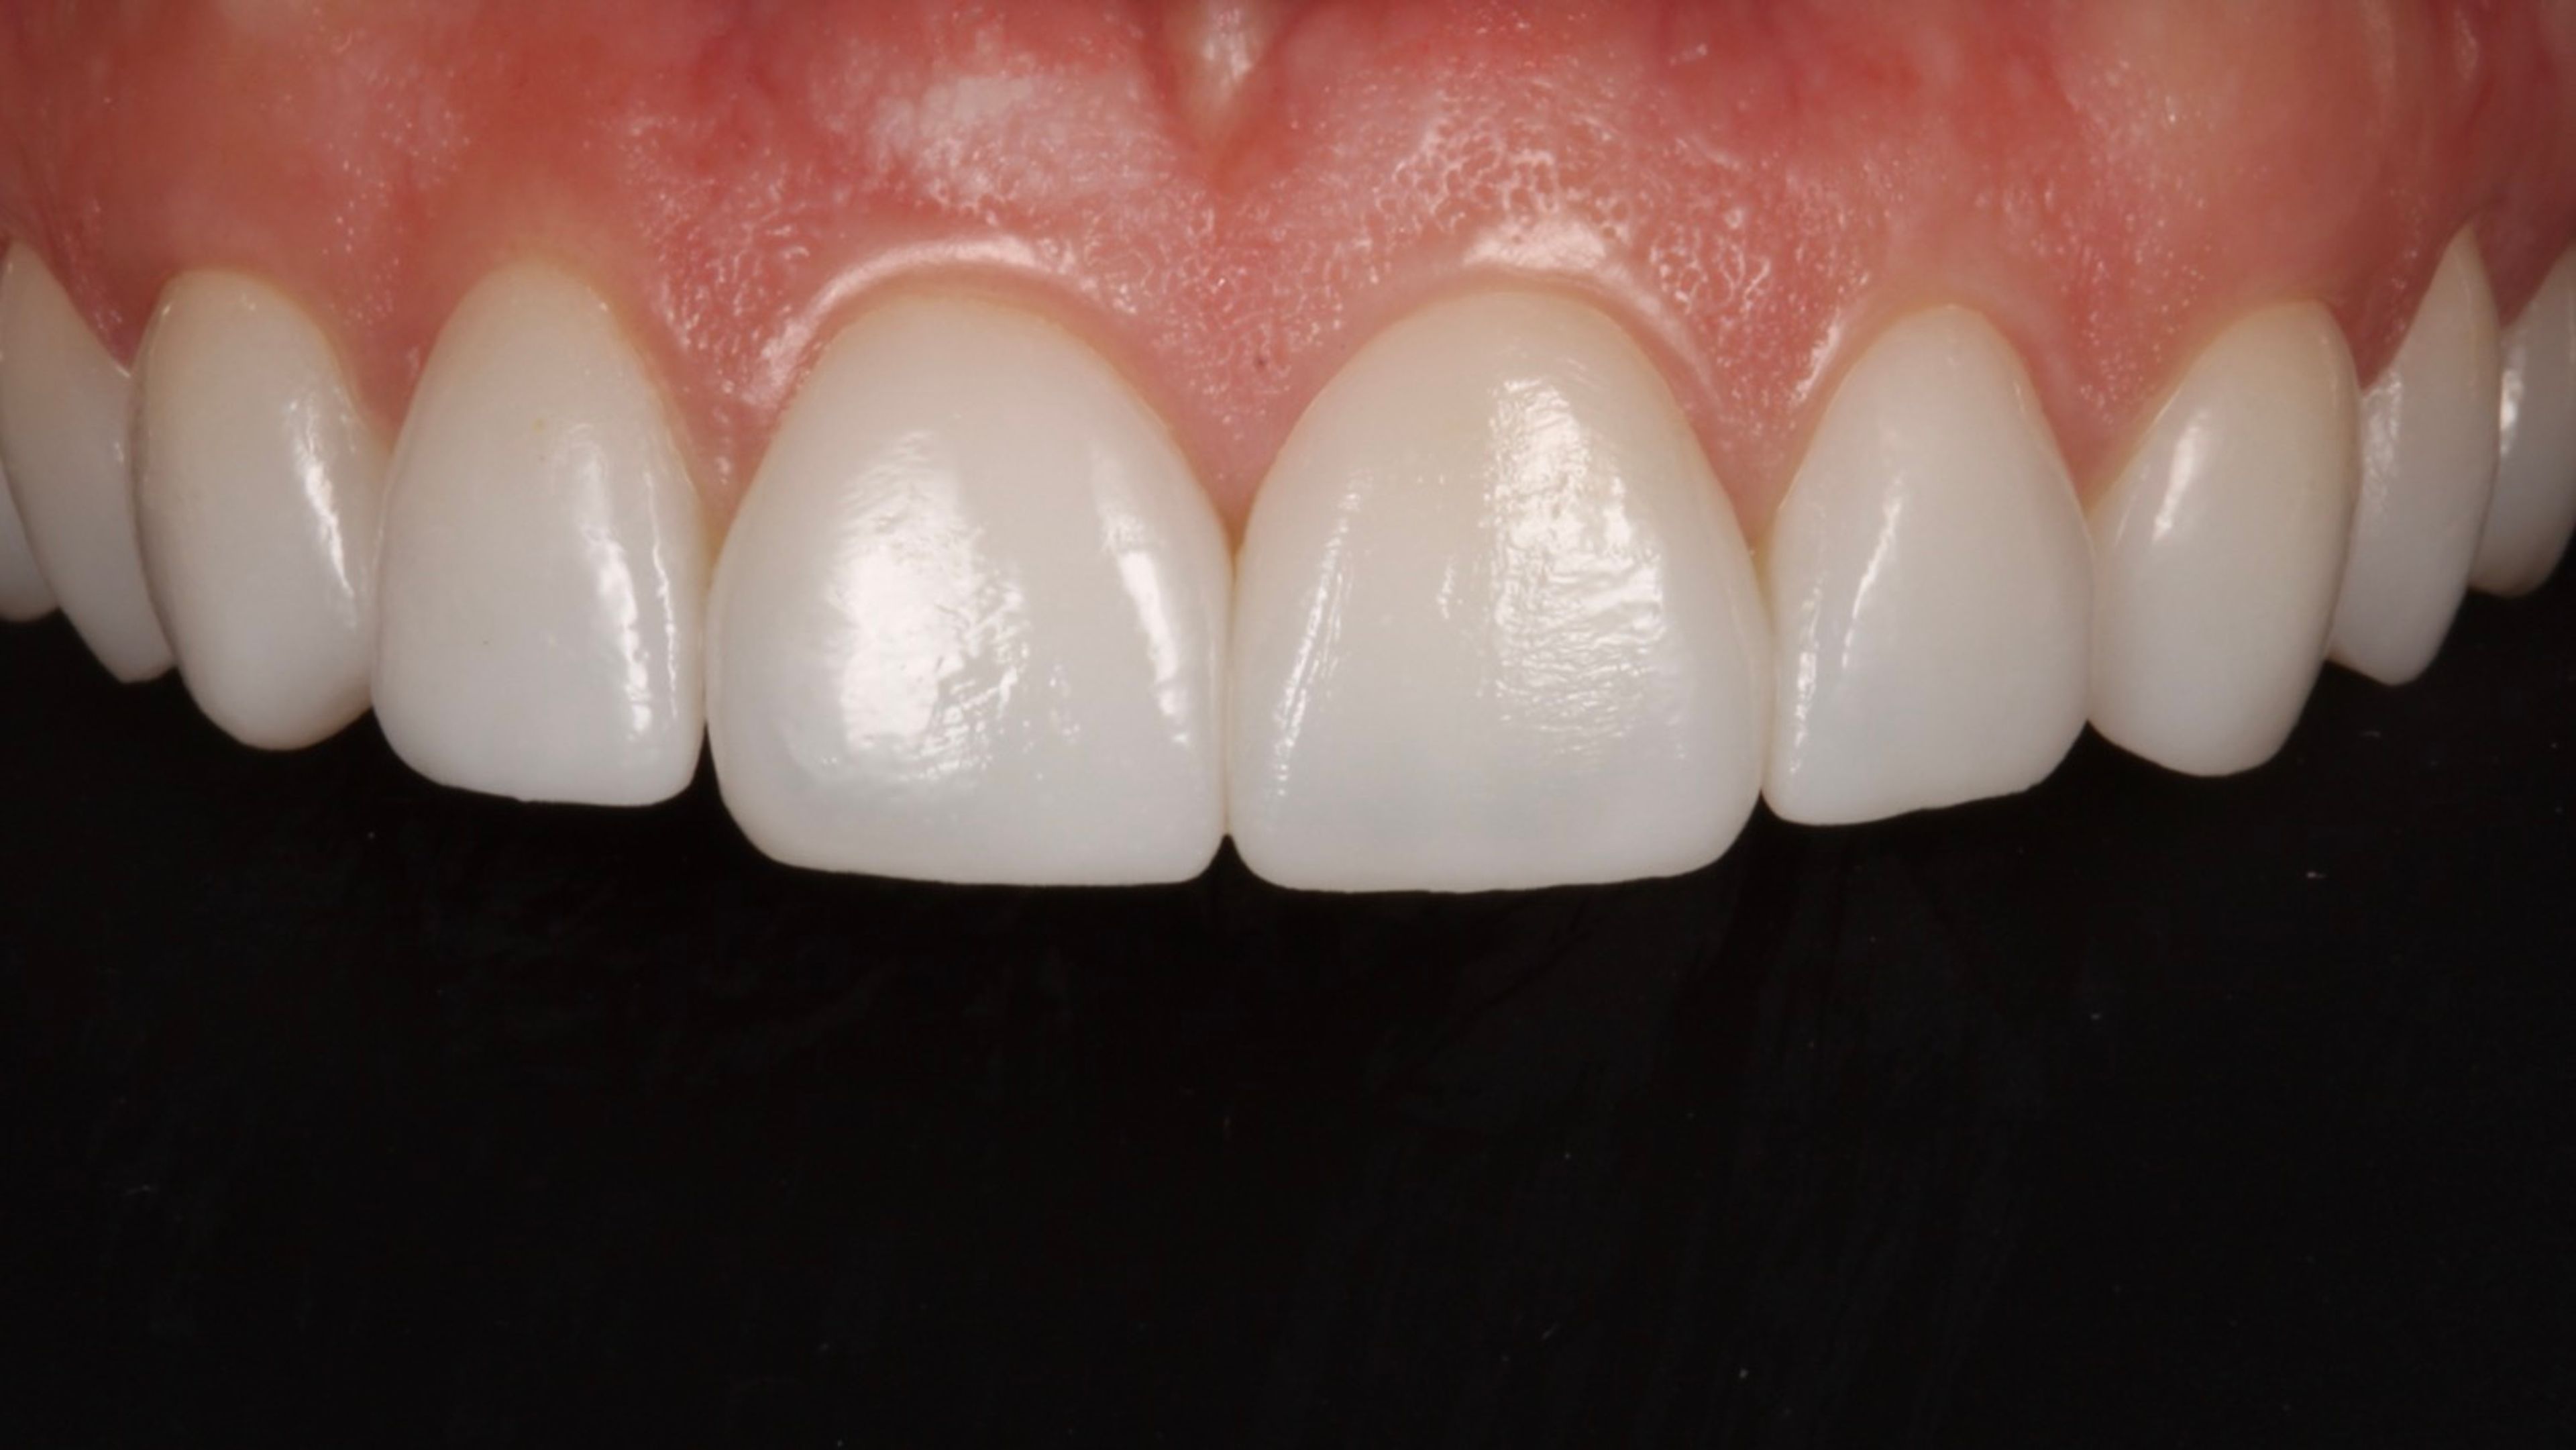
Closing gaps with no-prep
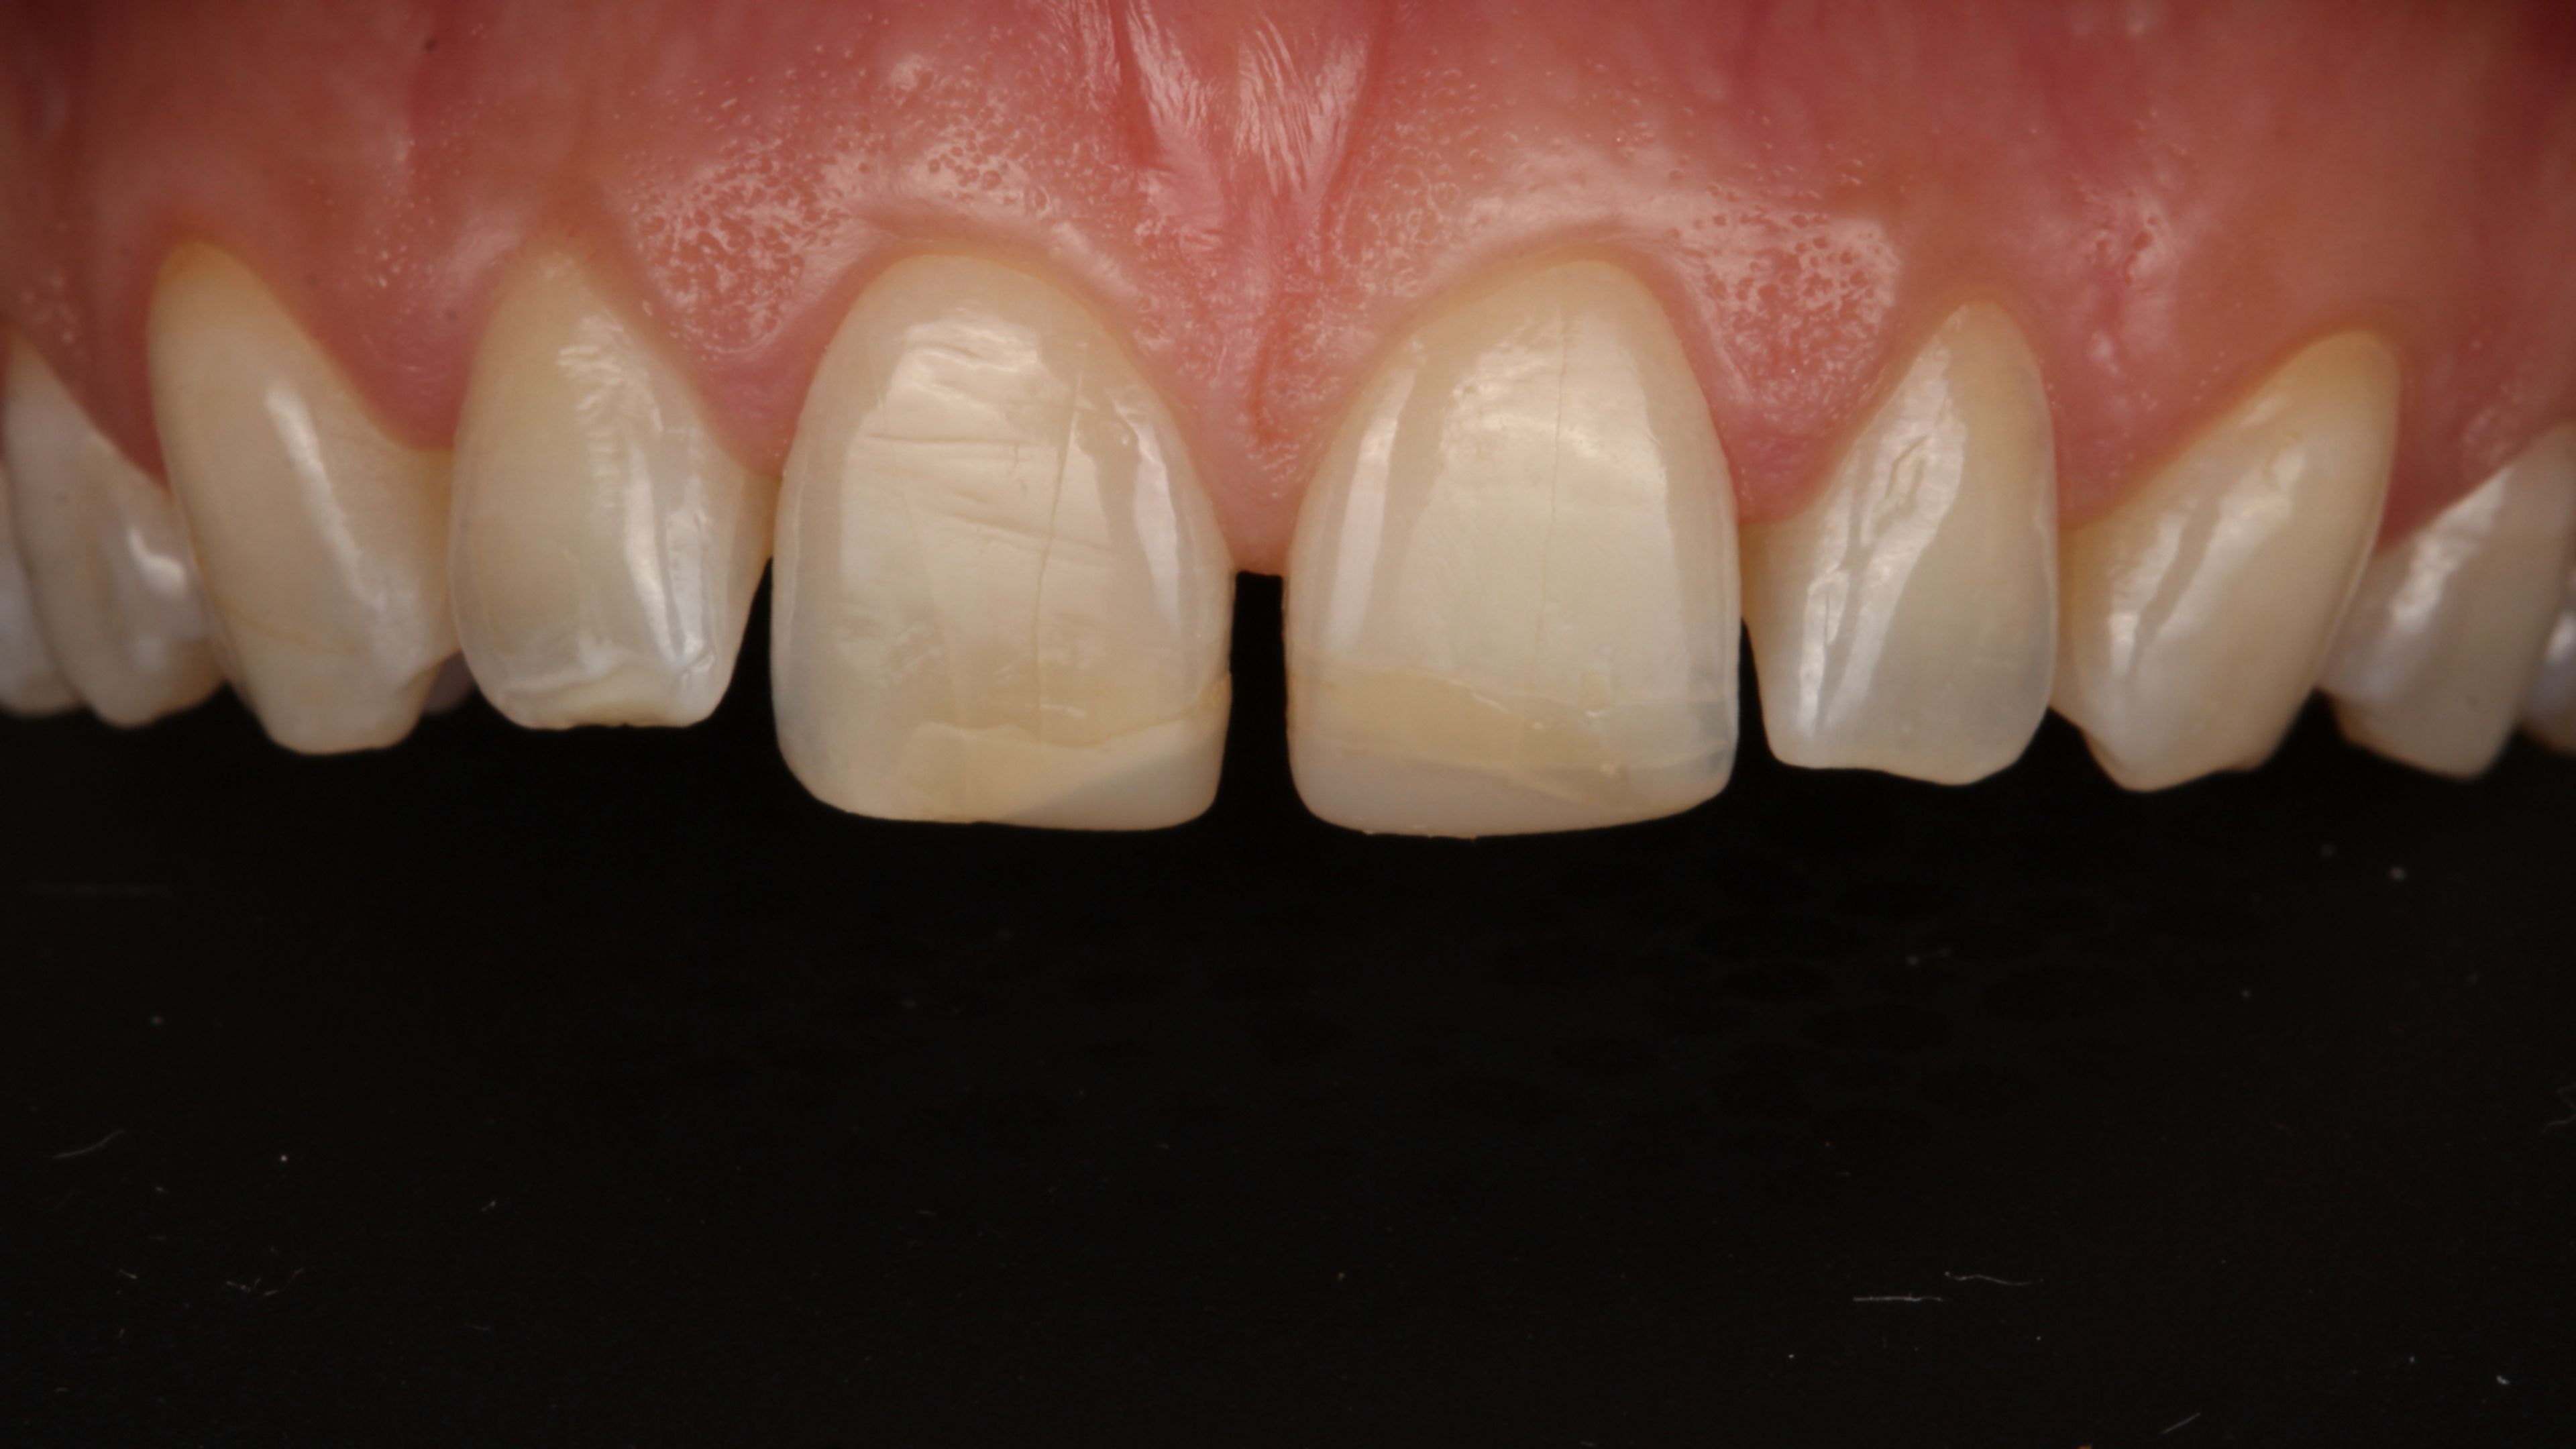
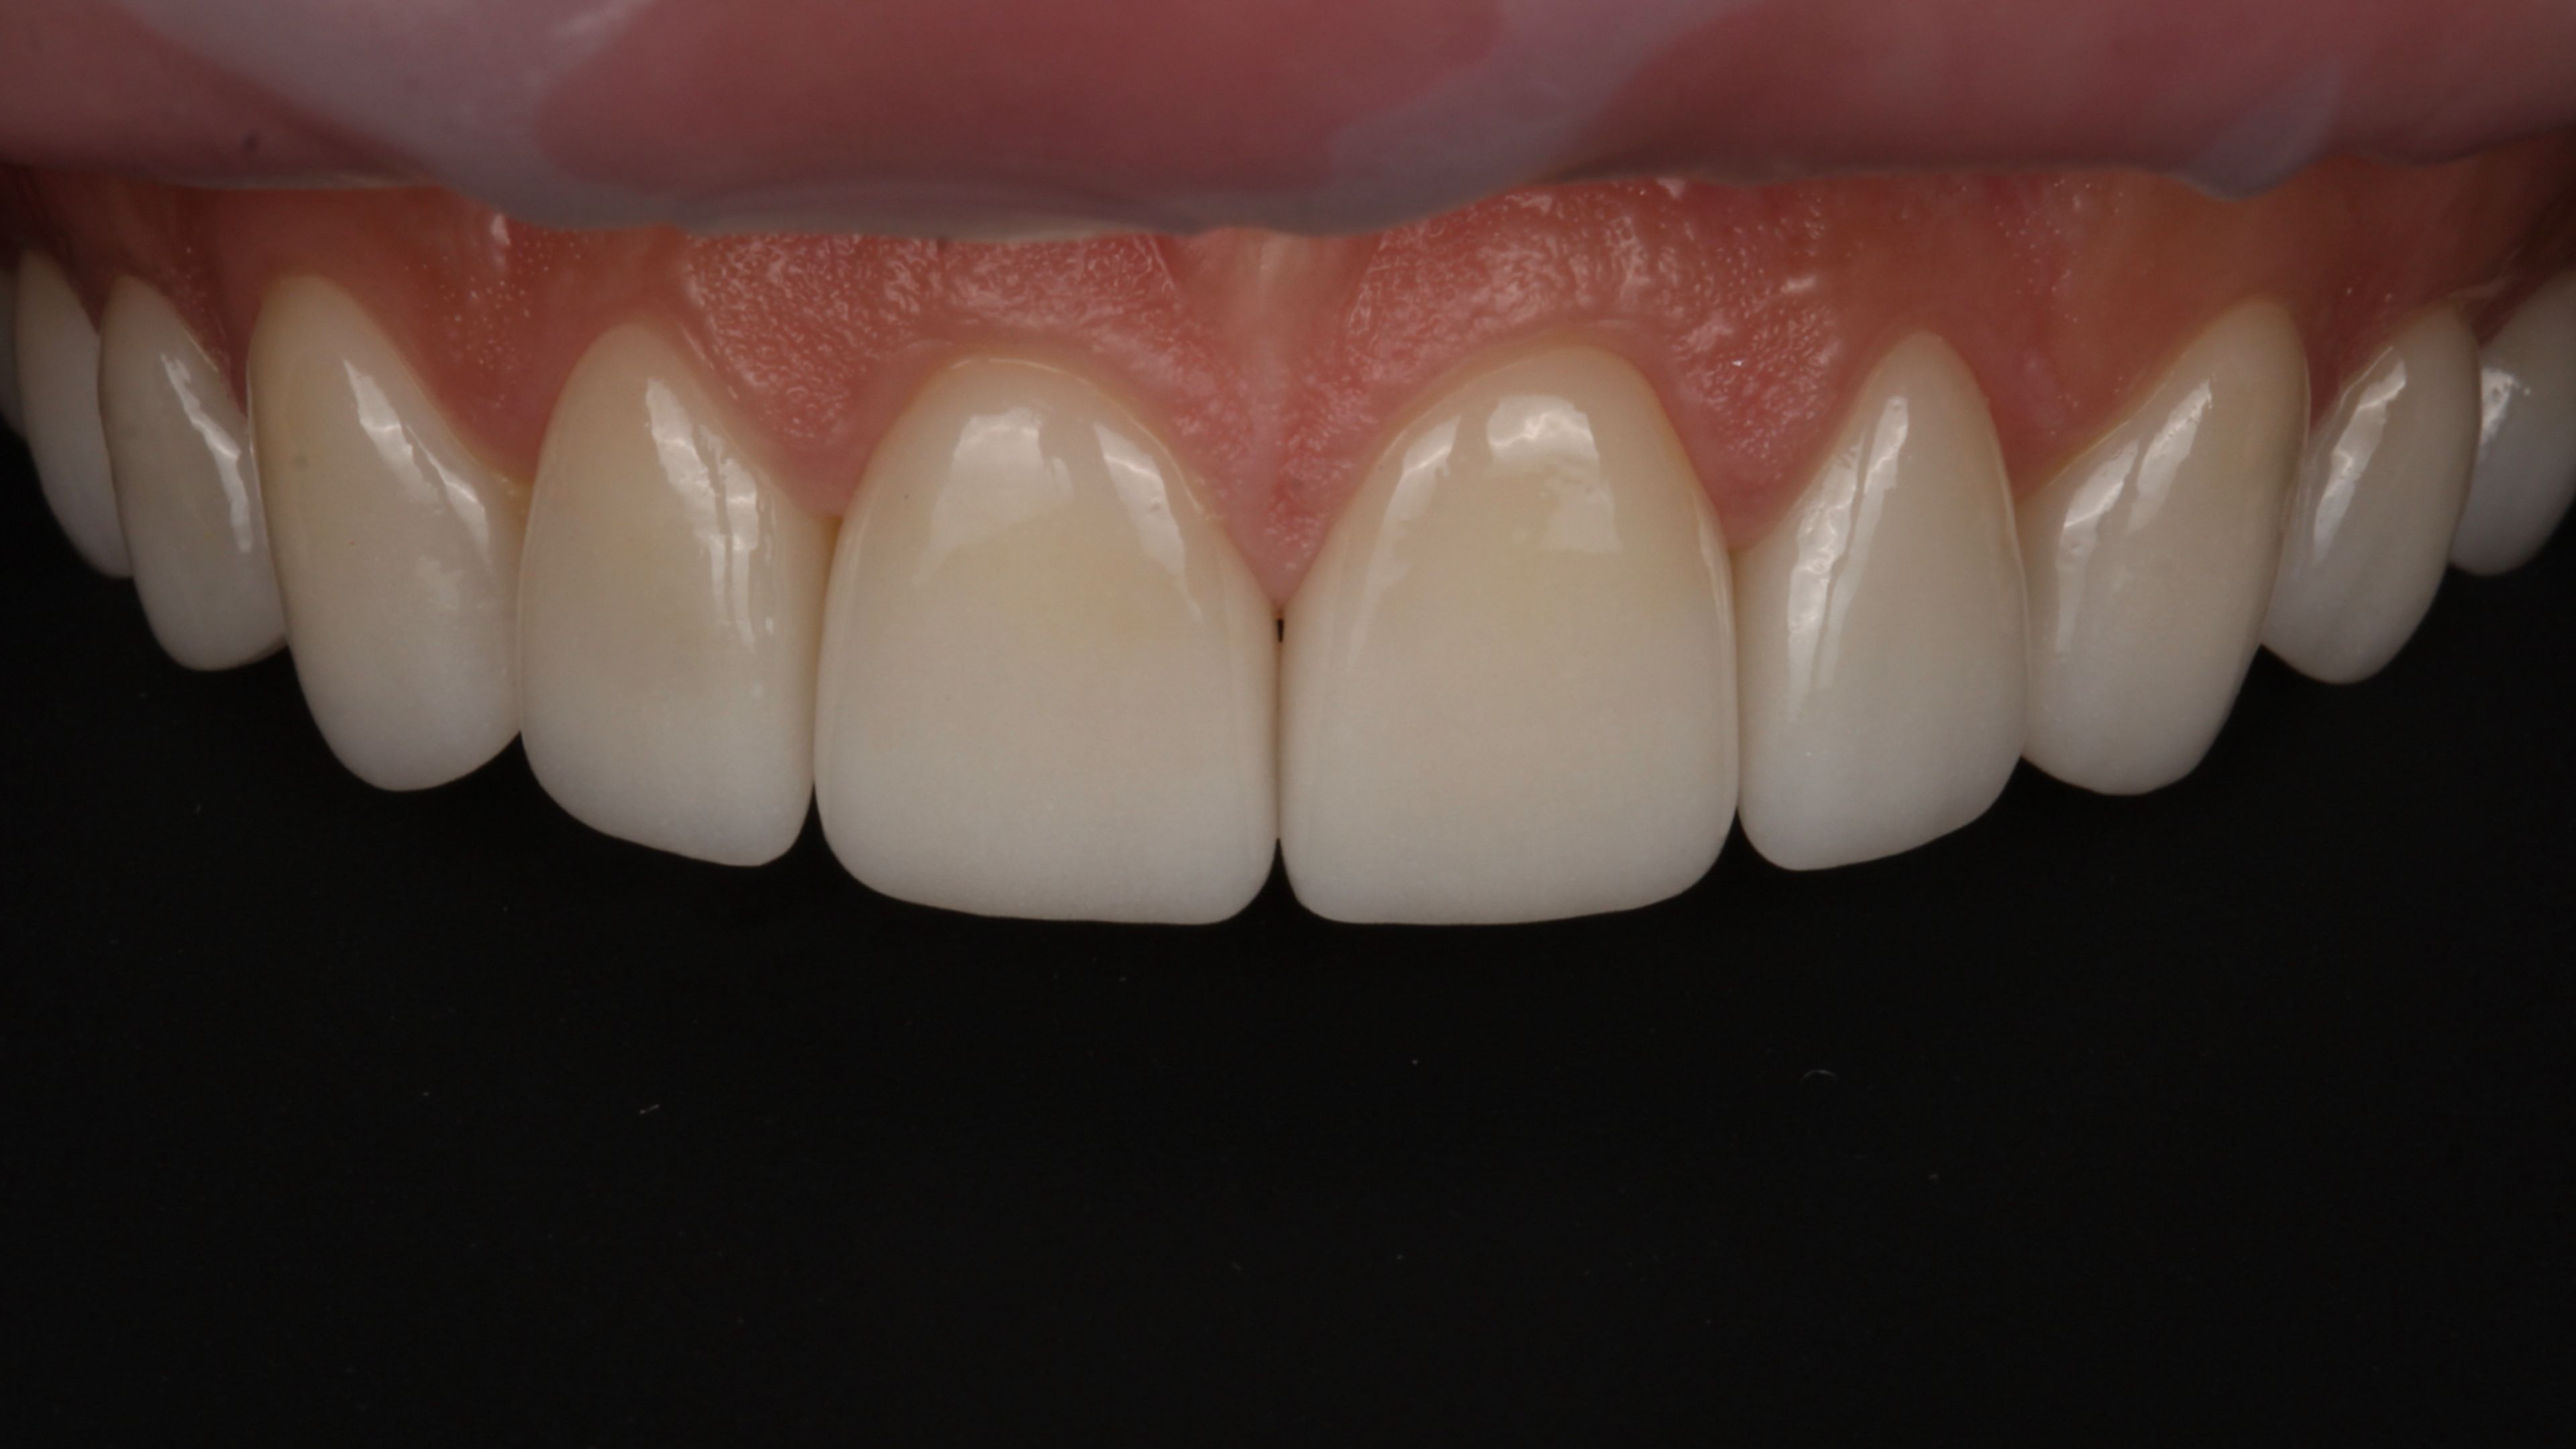
In all of these cases, the veneer is adding volume in a direction the tooth needs to go. The porcelain fills in space that didn't exist before. That's the geometry no-prep is built for.
What no-prep can't do well is bring teeth back. If a tooth is already protruding or crowded, a no-prep veneer can only make it more so. There's no removing material to make space, since every fraction of a millimeter of porcelain adds to what's already there. This is geometry, not craftsmanship. No level of skill changes it.
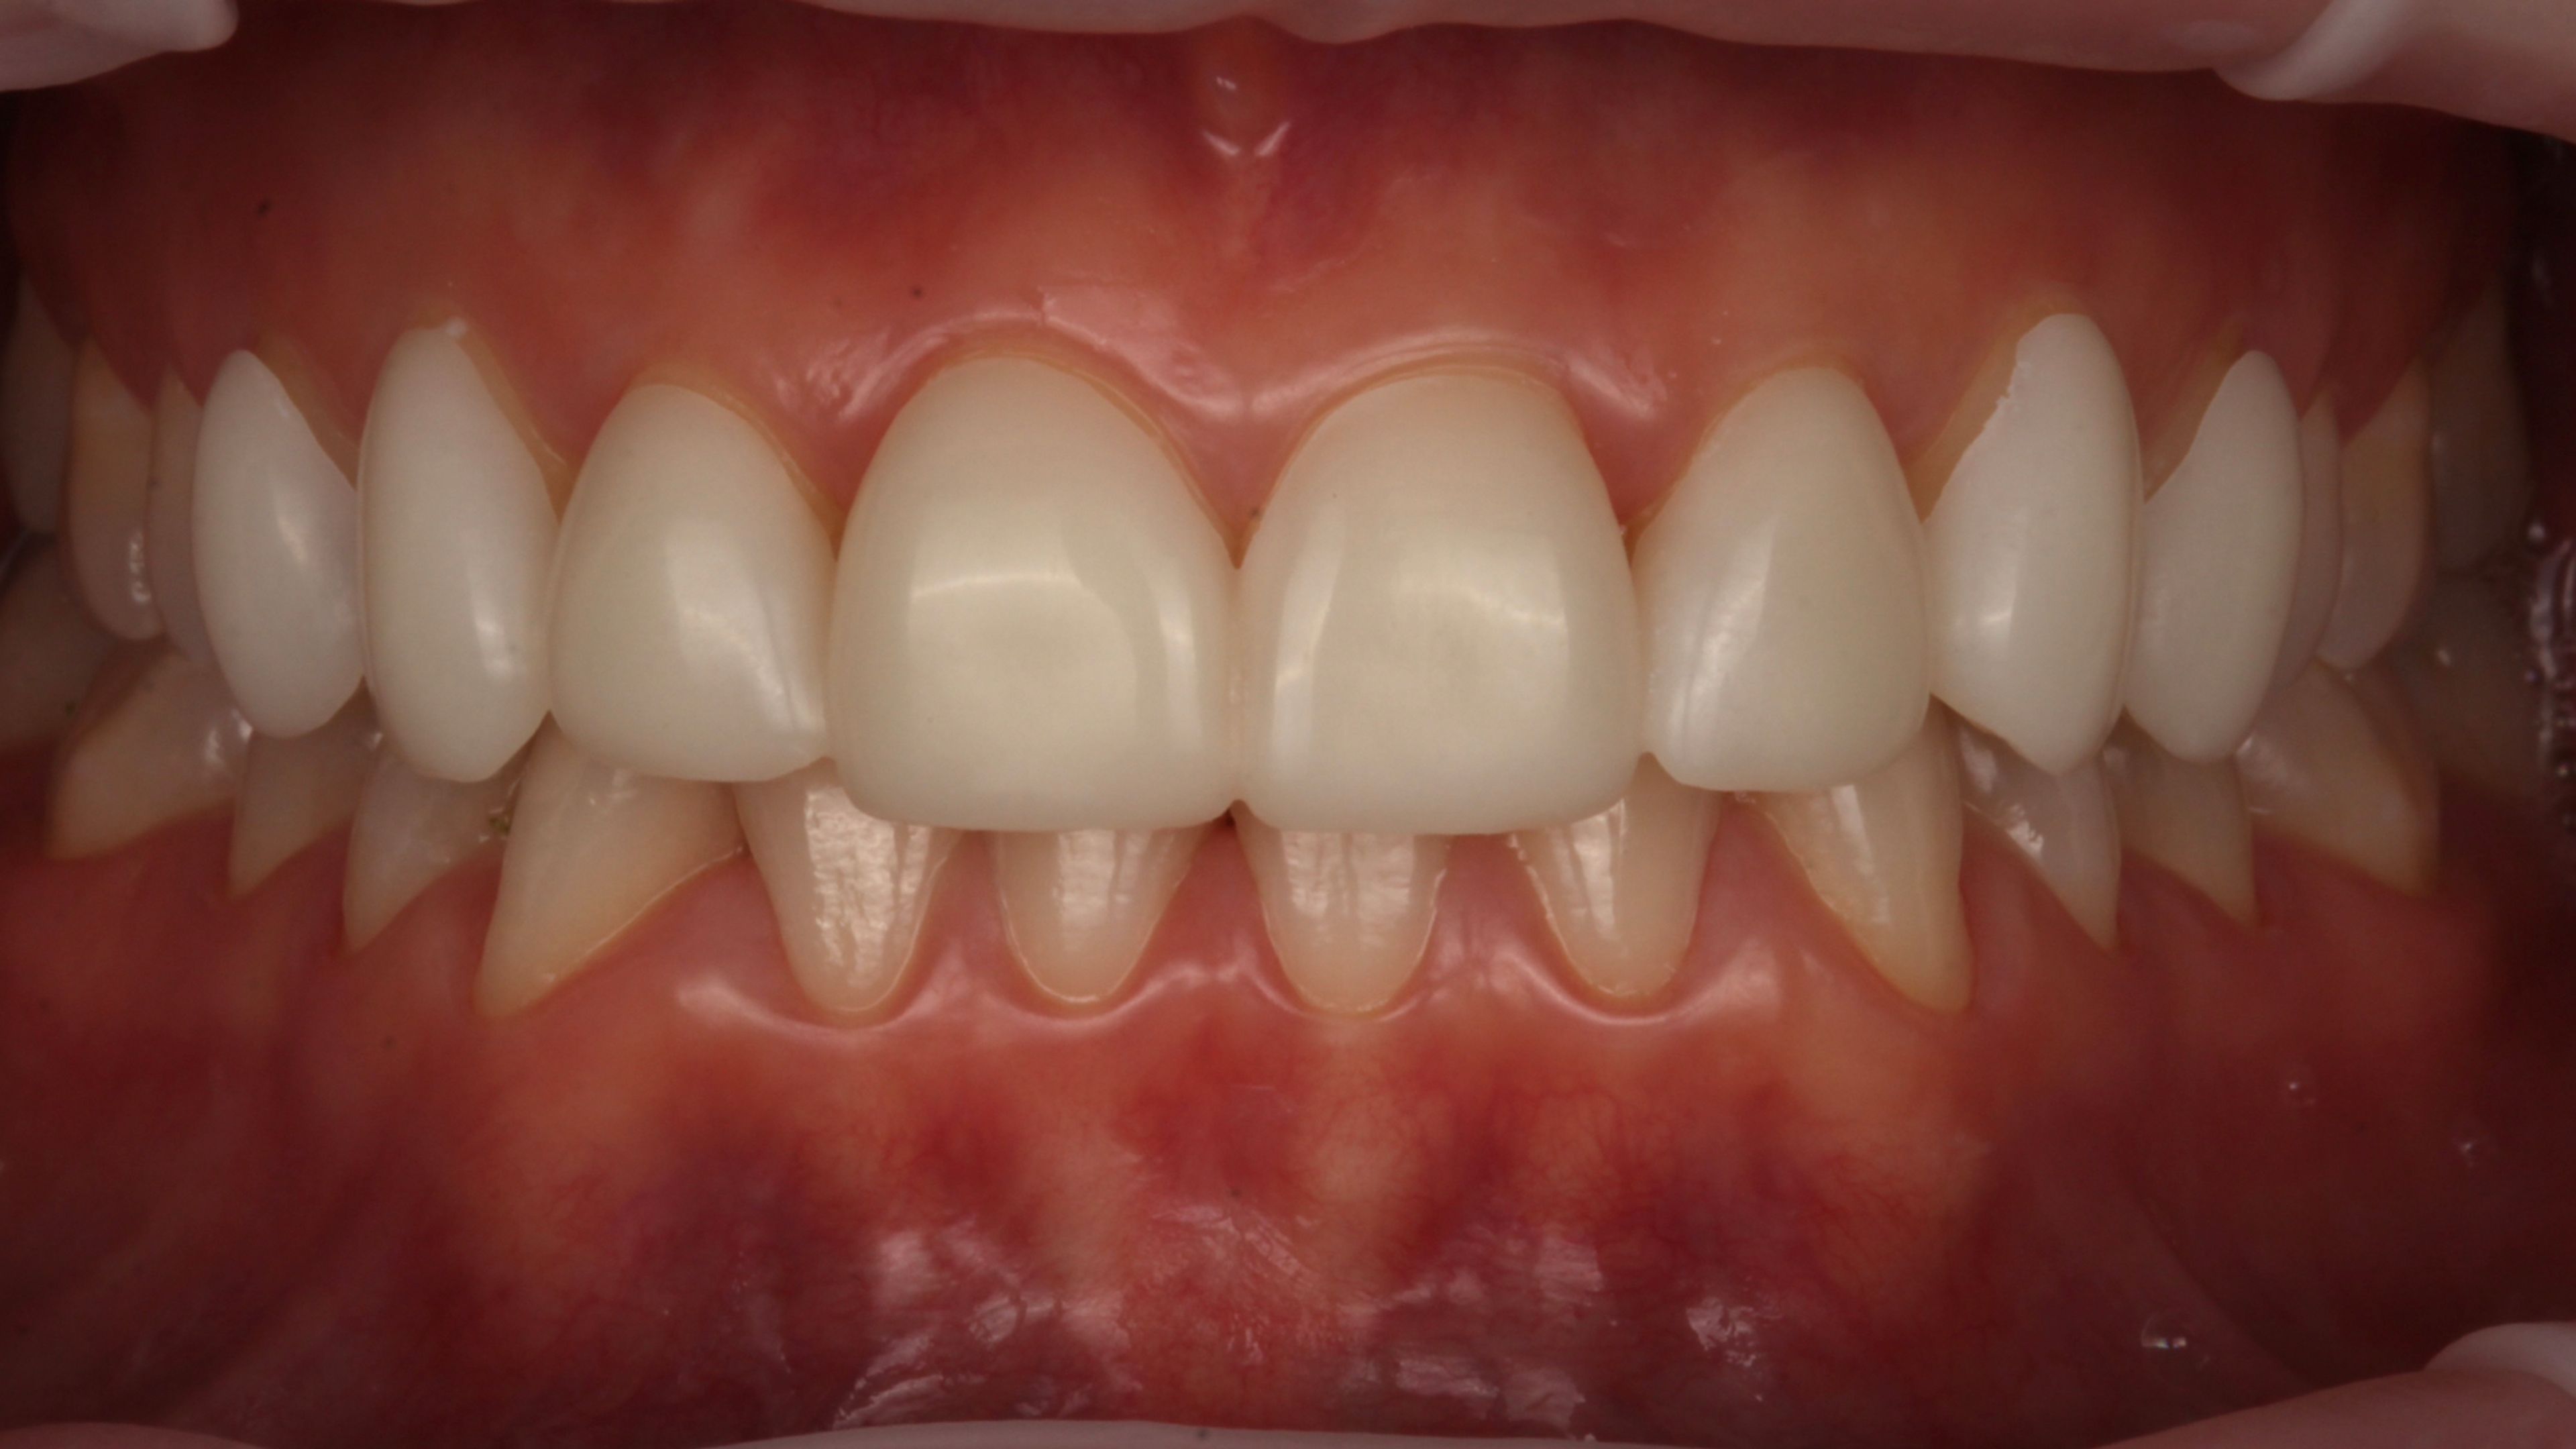
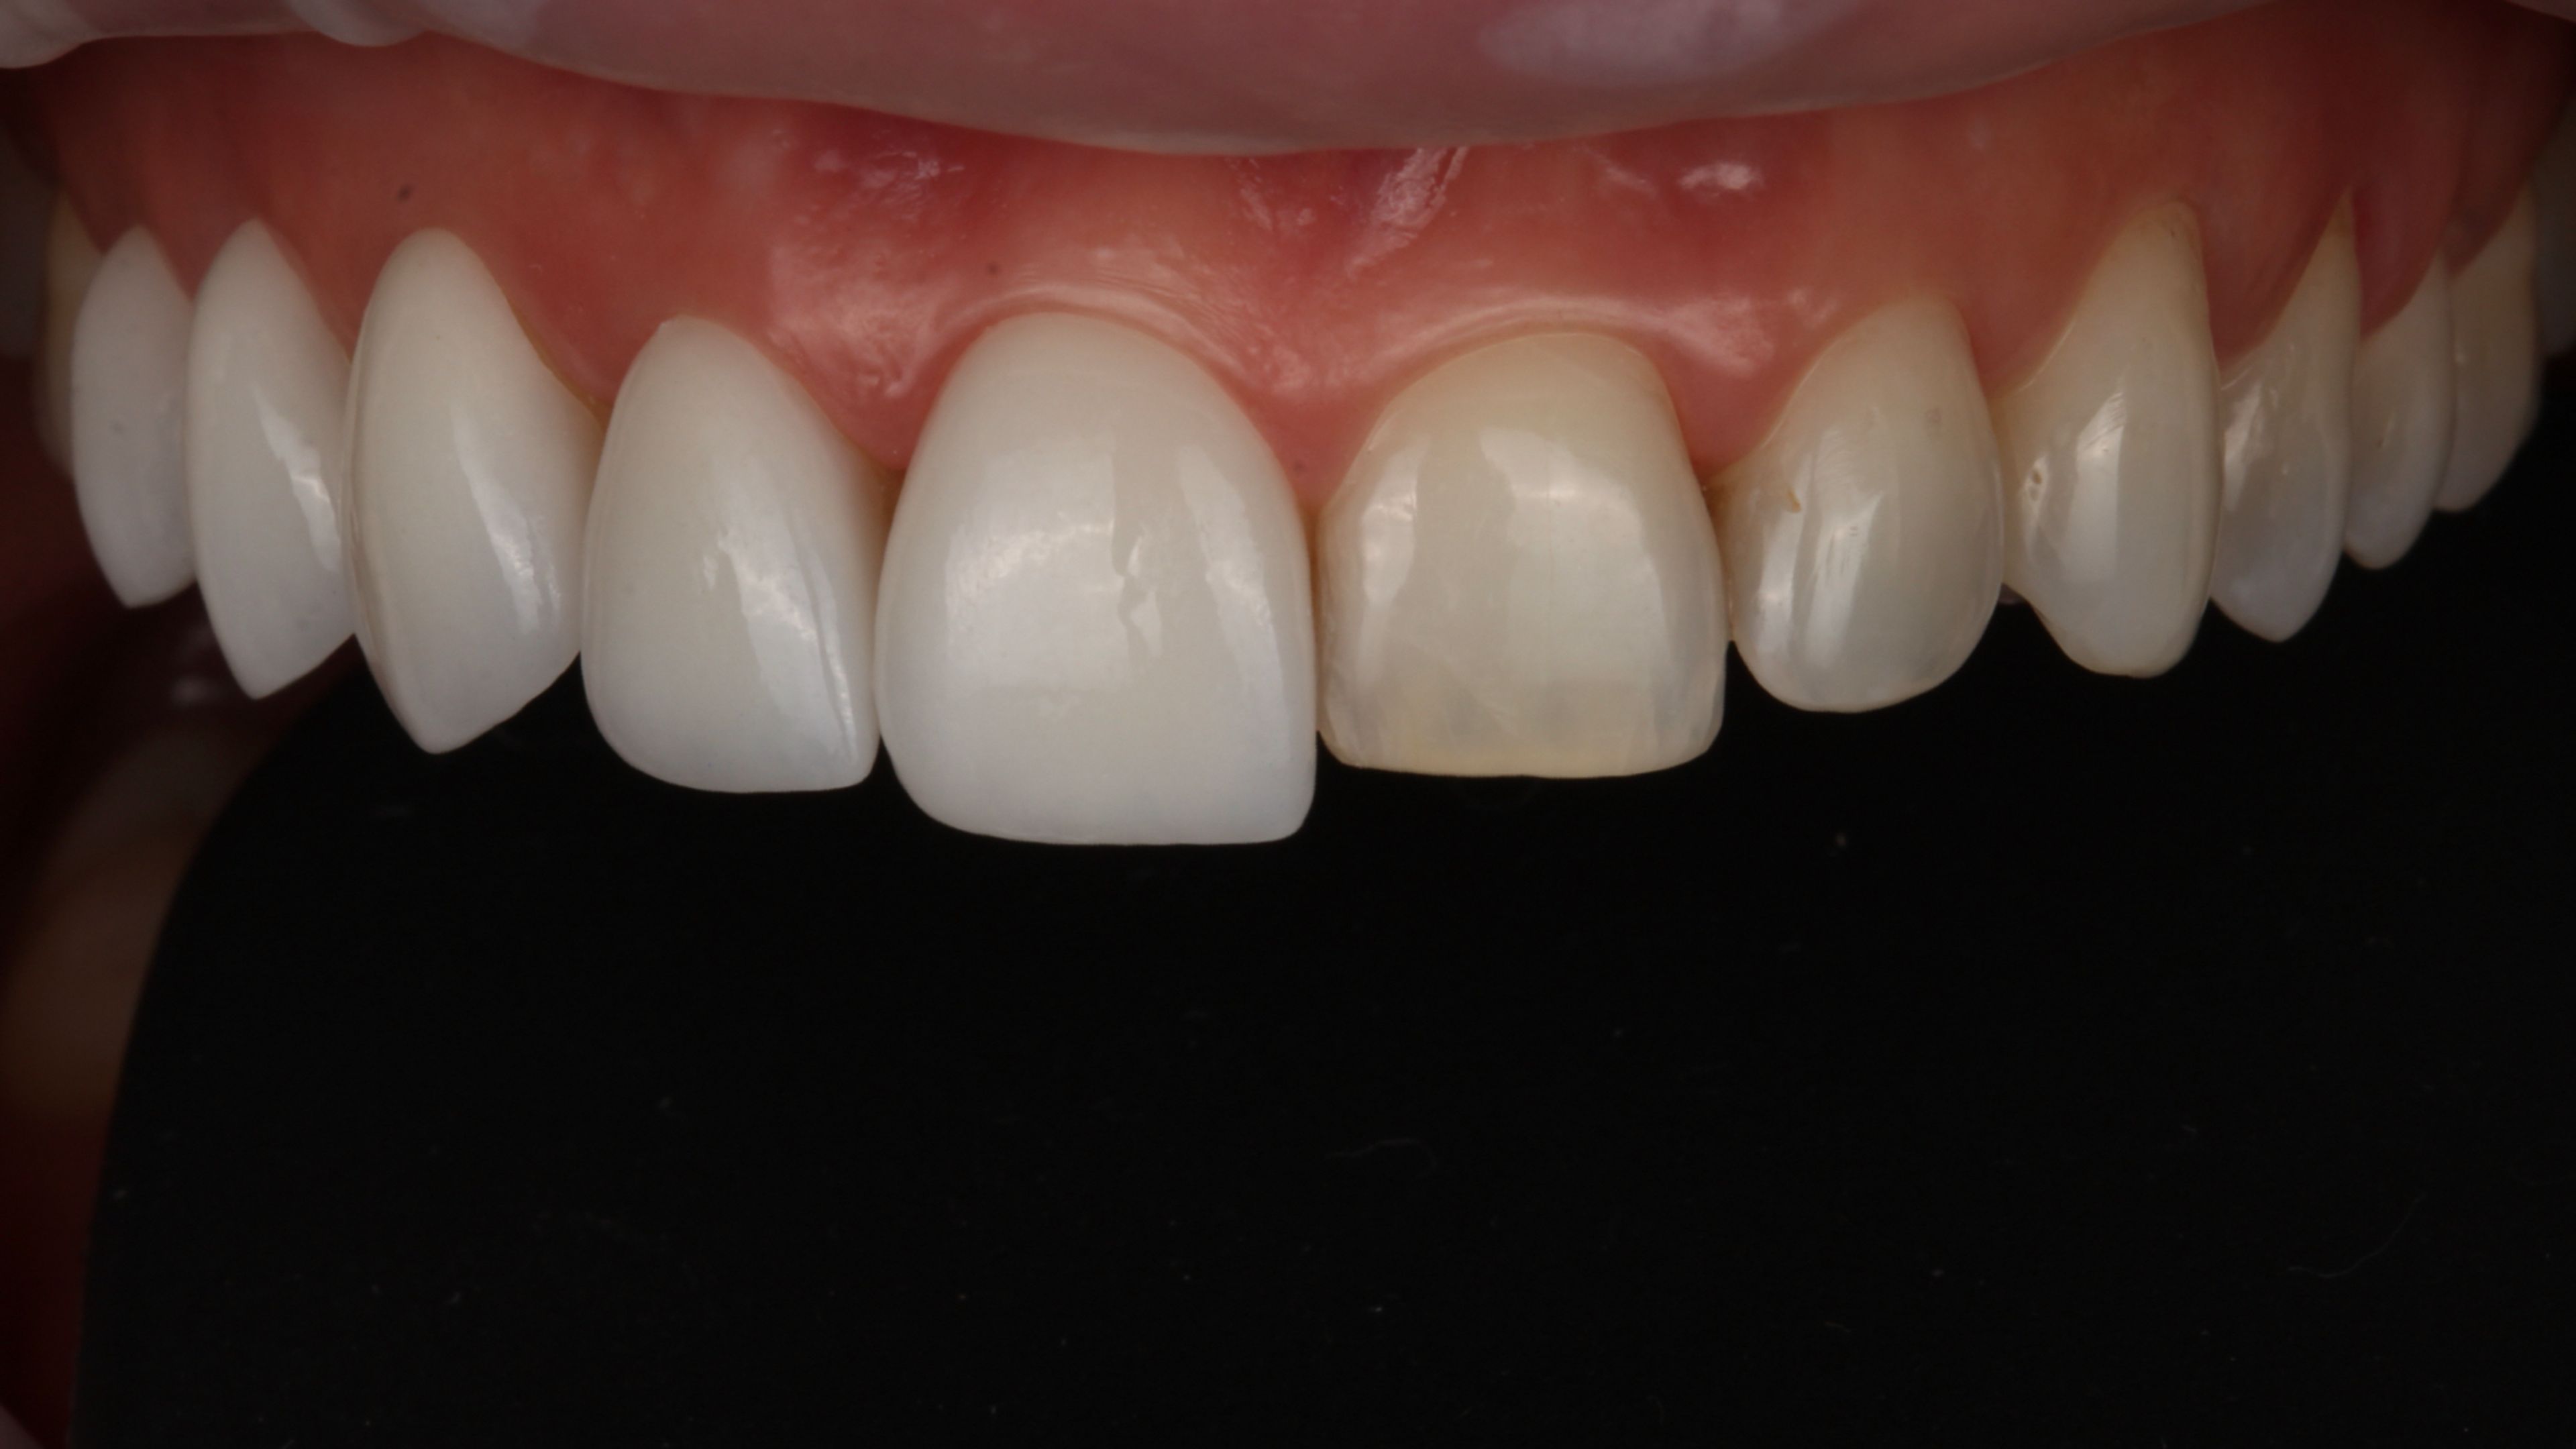
2. You're not making a drastic color change.
This is the criterion most patients don't expect, and it's the one that disqualifies more candidates than anything else.
No-prep veneers are very thin. They have to be, because they're sitting on top of the tooth without any space carved out for them. The thinner the porcelain, the more the underlying tooth color shows through.
If your teeth are dark, deeply stained, or significantly discolored, and your goal is a notably brighter smile, no-prep may not get you there. We can do a lot with shade and characterization in the porcelain, but we can't fully mask a dark tooth with a translucent shell. The result either looks too gray (if we let some of the natural color show through) or too opaque and lifeless (if we try to block it out with thicker, more opaque material, which then defeats the point of being thin and natural).
Patients who want a dramatic color shift are usually better served by a minimal-prep approach, where we have a fraction more space to work with. Enough to use porcelain that's slightly thicker and more capable of delivering a true brightness change without looking artificial.
3. You can commit to meticulous oral hygiene.
No-prep veneers sit at or just past the natural surface of the tooth. The margin, the line where porcelain meets enamel, sits right at the gumline, and sometimes slightly further forward than the original tooth contour.
That geometry creates spots where plaque can collect more easily than on natural teeth. If those areas aren't cleaned thoroughly, the gum tissue around them inflames, recedes, or both. The porcelain itself is fine. The tissue around it is what suffers.
We have this conversation directly during consultations. If brushing is rushed, flossing is skipped, and professional cleanings are inconsistent, no-prep is going to age poorly. Not because the veneers fail, but because the gums around them do. For patients who are committed to the maintenance, this is a non-issue. For patients who aren't, we'd recommend a different approach.
The failure mode: how no-prep goes wrong
Many of the patients who walk into our practice asking us to redo their veneers have one thing in common. They had no-prep veneers placed on teeth that shouldn't have had them.
The story is usually similar. They wanted the most conservative option. The clinic offered no-prep. The clinician didn't push back when they should have. The veneers went on, and now the smile looks bulky, the teeth look fake, and they're sitting in another consultation chair, often within a few years.
The "Chiclet" smile, the bulky, square, painted-on look that shows up in cautionary-tale photos, is almost always a no-prep case done on a patient who wasn't a candidate. When teeth are crowded or already protruding, adding a layer of porcelain on top makes them look thicker and more forward. The teeth start to appear added-on rather than refined.
It's not a craftsmanship problem. The porcelain might be beautifully fabricated. The bonding might be flawless. But the underlying decision, to do no-prep on a tooth that needed to be reshaped or brought back, was wrong from the start.
This is why candidacy matters more than technique. A great no-prep result starts with a clinician who's honest enough to tell you no.
A note on Lumineers
You'll see "Lumineers" advertised heavily in markets where no-prep is positioned as a no-strings upgrade. Lumineers are a branded no-prep veneer system. The shells are manufactured by a single company from a standardized process and sent to the dentist for placement.
That's it. They aren't a different category of veneer. They're a brand name applied to a particular fabrication workflow. Specialist cosmetic practices generally don't use branded systems because the shade, contour, and shape end up largely standardized rather than designed for your specific anatomy. Our techniques are different. Every veneer we place is custom-designed by our prosthodontist and ceramists for the case in front of us.
What the process actually looks like
Every practice runs this slightly differently. Here's how a typical no-prep case goes at our practice, start to finish.
One process, four stages
The consultation.
We start with a conversation, not a clinical exam. What do you want to see when you smile? What bothers you when you look in the mirror? Have you had cosmetic dentistry before, and what did or didn't work? Are there photos of your younger smile, or smiles you admire, that you can show us?
Then we evaluate. Our prosthodontist looks at your teeth, your gums, and how your smile sits within your face. The proportions, the way your lips frame your teeth, what's already in balance and what isn't. Photos are taken from multiple angles. Sometimes a digital scan, depending on the case.
By the end of this visit, we usually know whether no-prep is the right approach, the wrong approach, or whether we need to design and review more before deciding.
Design and mock-up.
Before any tooth is touched, we design the smile digitally. This is where the proportions, length, shape, and position of every veneer are mapped out. The design isn't theoretical. It's a precise plan for what the result will look like.
For most no-prep cases, we'll do a mock-up before final fabrication. This can be a digital preview, a physical try-in directly on your teeth, or both. The mock-up lets you see and feel the direction before anything is permanent. If something needs to change, this is the moment to change it.
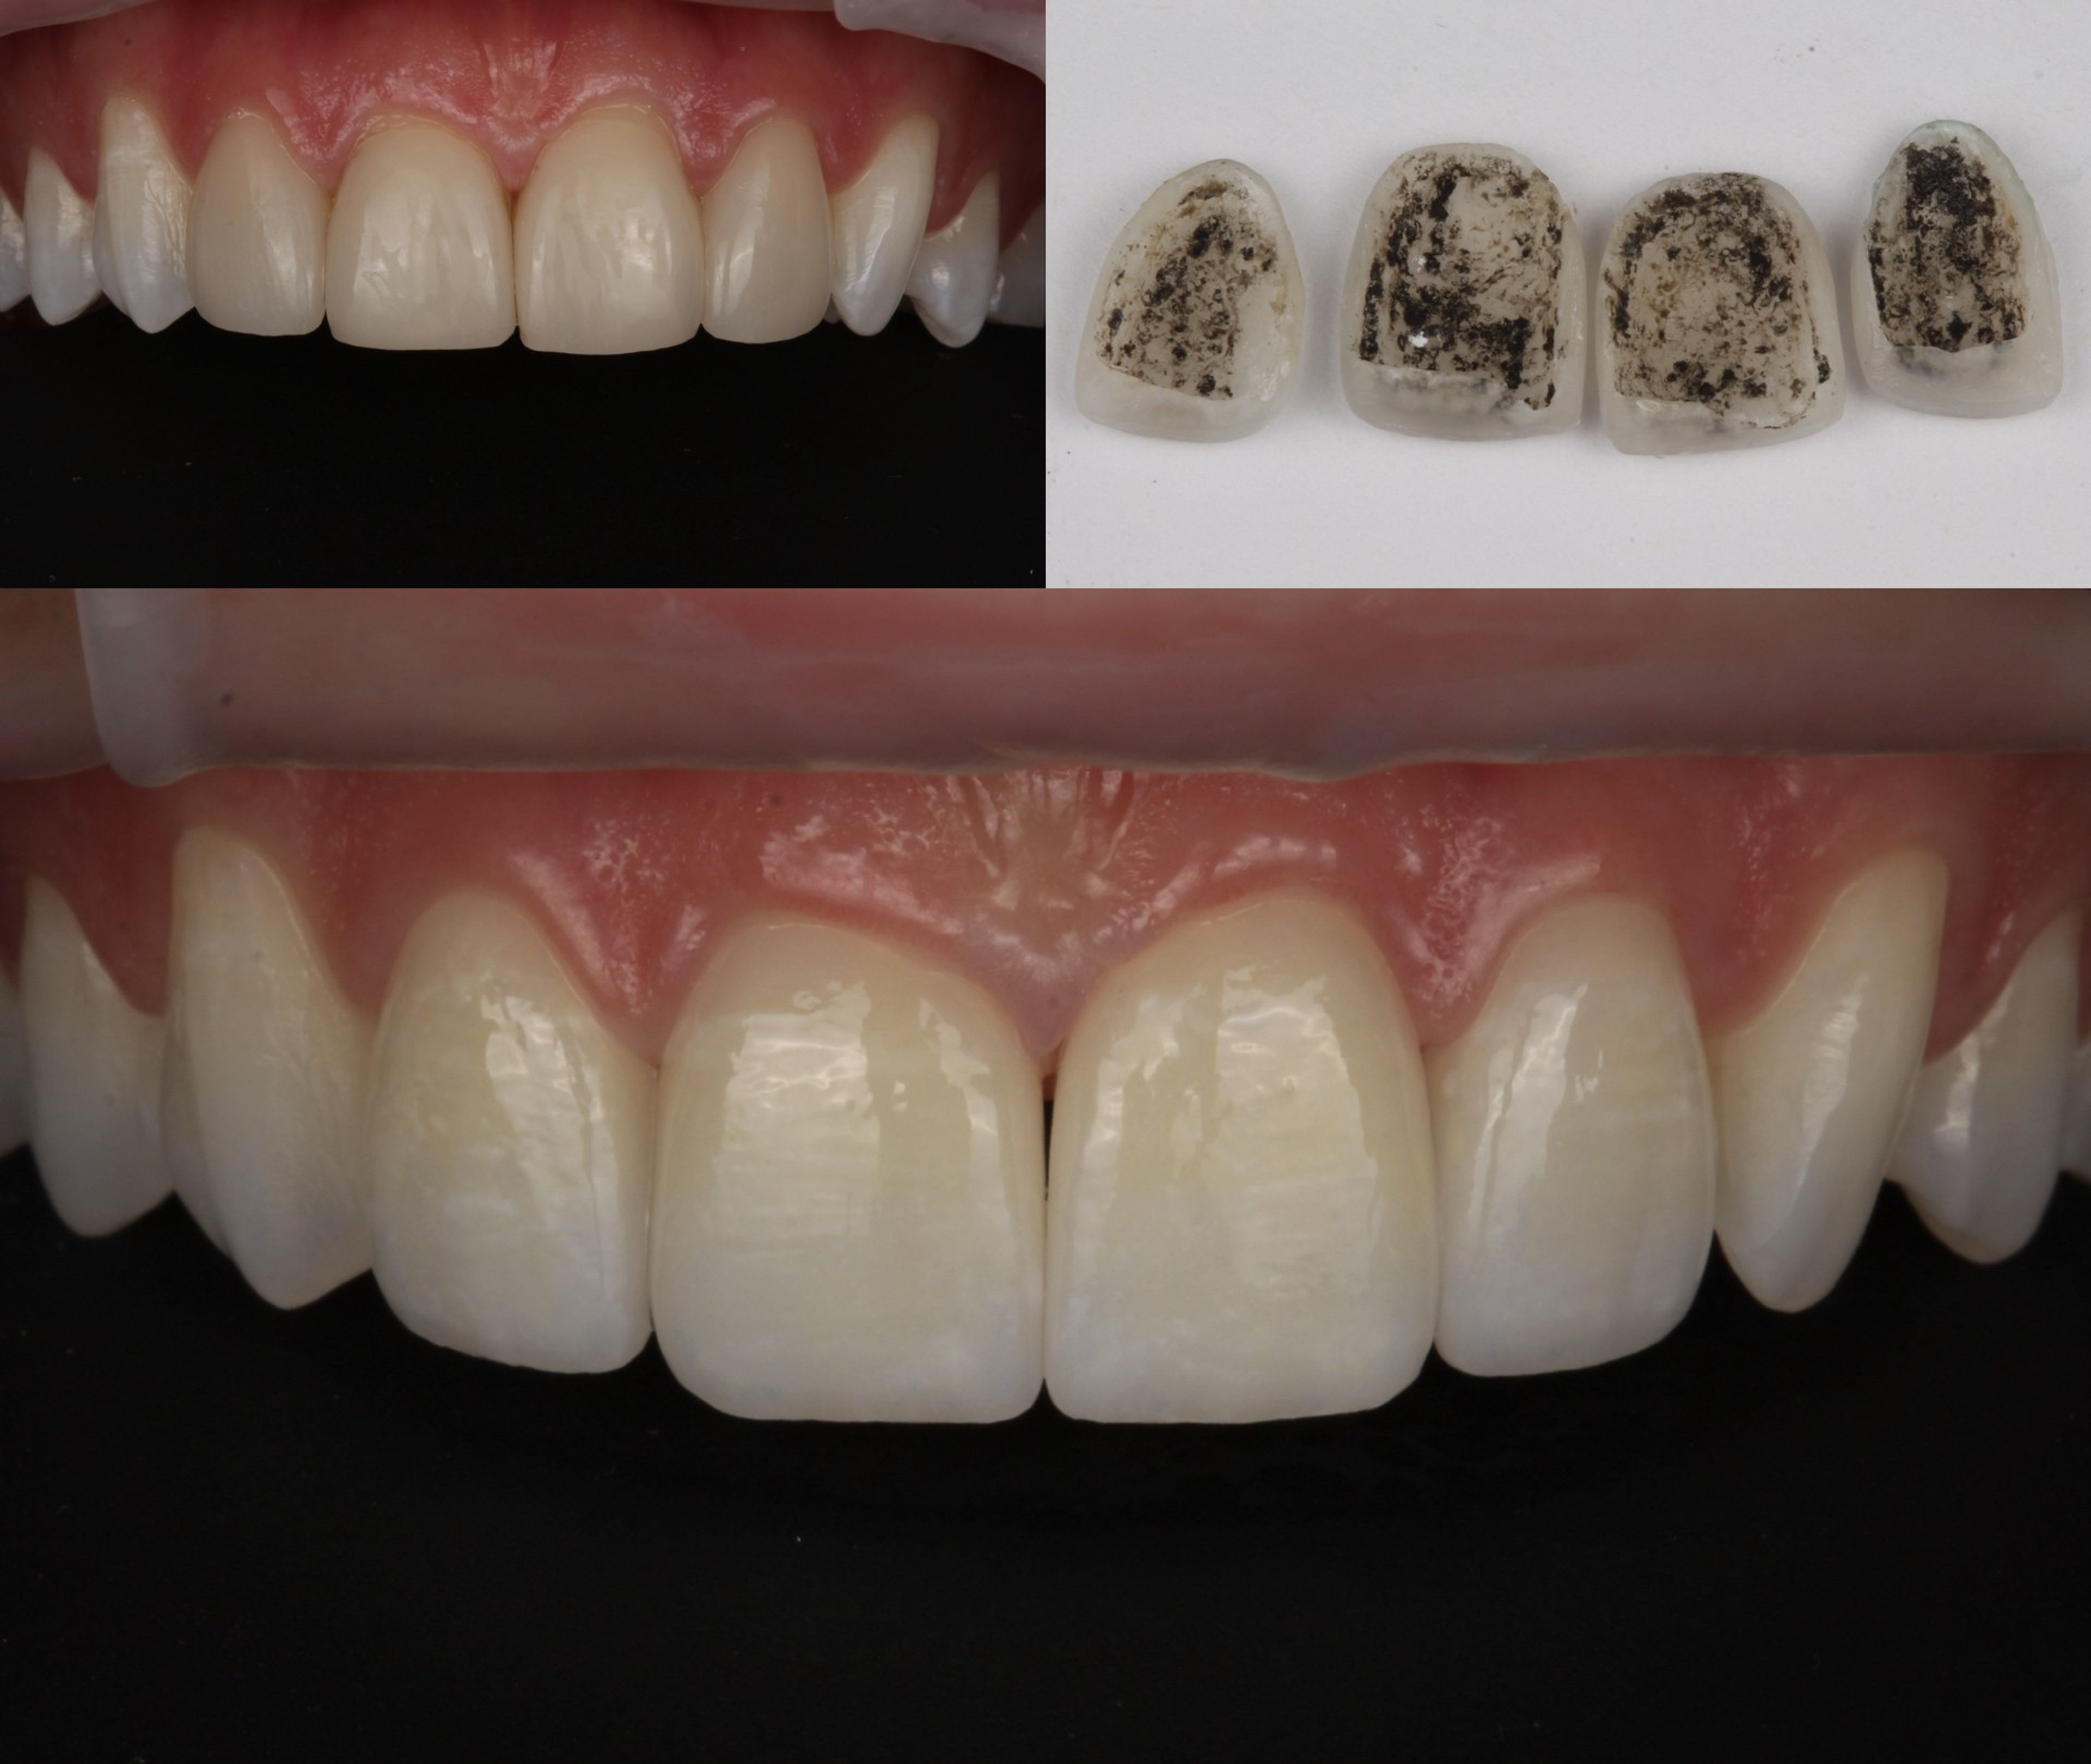
Surface refinement.
This is the visit where we do whatever surface work is needed for the veneers to seat properly. As covered earlier, this isn't preparation in the traditional sense. We're softening edges, removing roughness, eliminating undercuts. It's gentle.
For no-prep cases, this can typically be done without anesthetic. Many patients are surprised by how unremarkable it is. Some prefer to be numb anyway, and that's a normal choice.
After the surface work, you have options. We can place temporaries while your final porcelain is being crafted, or we can send you home without temporaries since your natural teeth are still intact, just slightly polished. Most no-prep patients leave the chair looking essentially the same as they came in, which is part of what makes this approach feel different from traditional veneer cases.
Final fabrication.
Your veneers are crafted in our in-house lab. Our ceramists work in direct collaboration with the prosthodontist, refining shade, translucency, and shape until the final pieces are exactly what was designed. This usually takes a few weeks.
When fabrication is happening down the hall instead of across the country, every detail can be reviewed and adjusted in real time. A shade that's slightly off in photos but right in person, or a contour that needs to be a hair more refined, can be addressed before placement instead of after.
Try-in and placement.
When the veneers are ready, we don't just bond them in. We try them in first, usually with a temporary paste that holds them in place without committing. You can see them. You can show them to family. You can sit with them for a moment and look in the mirror under different lights.
If anything is off, if a shape needs to be refined, if a shade is slightly too warm, if the proportions don't feel right, we can adjust before they go on permanently. This is the last stop before the bond is final.
When everything is right, the veneers are bonded individually using the adhesive protocols that make porcelain feel like part of the tooth. The final step is polishing the margins so they're seamless to the eye and to the tongue.
You walk out with your new smile that day.
What it's like after
For the first day or two, the new contours feel different. Most patients adjust within 24 to 48 hours, and by the end of the first week, the veneers feel like part of you. Sensitivity is uncommon with no-prep specifically, because so little of the tooth is altered. Some patients feel nothing different from day one.
Cleaning routine: regular brushing and flossing, plus a serious commitment to professional cleanings every three to six months. The hygienist will know how to clean around veneers without scratching the porcelain. (If you go elsewhere, mention you have veneers; not every hygienist defaults to the right tools.)
Long-term: with proper care, ten years or more is a realistic expectation. Some cases last longer. The porcelain doesn't stain like enamel does. Coffee, wine, and tea won't absorb into the surface. The bonding margins, where porcelain meets tooth, can pick up surface staining over time, especially with heavy coffee or smoking habits, which is another reason regular cleanings matter.
How a case ages
Things that shorten the life of veneers include clenching and grinding without protection (we'll often recommend a night guard), using teeth as tools, biting hard objects, and inconsistent maintenance. None of these are unique to no-prep. They apply to any cosmetic work.
The honest tradeoffs
Even when no-prep is the right answer, it has tradeoffs that minimal-prep doesn't.
You're adding volume, not replacing it. Even a beautifully designed no-prep veneer is, by definition, slightly fuller than the original tooth. That's the geometry. For most patients in this category, that fullness is the goal, but it's worth knowing you're committing to a slightly larger tooth than you started with.
Less control over color change. Covered above. If your color goals are ambitious, no-prep ties one of our hands behind our back.
Less control over shape change. No-prep can refine, lengthen, and add. It can't significantly reduce or reposition. If a tooth needs to be brought back or made narrower, no-prep can't do it.
Higher demand on hygiene. The margin geometry creates spots where plaque accumulates more easily. This isn't a flaw, it's a maintenance reality.
More technique-sensitive in fabrication. The thinner the porcelain, the harder it is to work with. Our ceramists have spent years learning how the material behaves at the lowest end of the thickness range. In hands that haven't, no-prep is more likely to fail or look poor.
Harder to course-correct later. If something needs to change in five years, a shade adjustment, a shape refinement, you generally have to remake the veneer. There's no surface to recontour the way there is with a prepared tooth.
For the right candidate, none of these tradeoffs are reasons not to do no-prep. They're reasons to go in with realistic expectations.
What to ask before you commit
This is the most important section of this article. The questions below are the ones that separate a great cosmetic dentistry practice from one you'll regret. Take them to any consultation, anywhere.
About candidacy:
- Am I a good candidate for no-prep specifically? What about my teeth and goals makes you say yes, or no?
- If you don't think no-prep is right for me, what would you recommend instead, and why?
- Have you ever told a patient no-prep wasn't right for them? When?
If a clinician can't articulate why you're a candidate, or has never declined a no-prep case, that's a signal. Honest practices say no.
About the design:
- Who is designing my veneers? Will I meet that person, or interact with them?
- Will the shape and shade be customized to my face and existing teeth, or are these from a standardized system?
- Will I see a mock-up before any porcelain is fabricated? What does that look like?
- Can I see before-and-after photos of cases similar to mine?
- Can I see photos of your own patients two or more years after their veneers were placed? This is the question almost no one asks, and it's the most revealing one. Anyone can show you a beautiful result on day one. What you want to see is how the work has held up over time. Look for the gum tissue around the veneers, any staining at the margins, any wear on the porcelain. If a practice can't produce a single long-term photo of their own work, that tells you something.
"Similar to mine" matters too. Anyone can show you their best ten cases. Ask to see cases where the patient's starting position looked like yours.
About fabrication:
- Is the lab in-house or external? If external, how often do you communicate with them during my case?
- What porcelain material will be used, and why that one?
- How thin will the veneers be, and is the clinician comfortable with porcelain at that thickness?
In-house labs aren't always better. But the closer the collaboration between clinician and ceramist, the more predictable the result.
About the procedure:
- Will any of my tooth structure be removed? What kind, and how much?
- What does the surface refinement actually involve?
- Will I have temporaries? Why or why not?
- Will I be able to try in the veneers before they're bonded permanently?
If the answer to any of these is vague, ask again. You're entitled to specifics.
About longevity:
- Realistically, how long should these last? What affects that?
- What happens if a veneer chips or comes off?
- Do you offer a warranty or guarantee? What does it cover?
About cost:
- What's the total investment? Is the cost per tooth all-in, or are there separate fees for design, fabrication, temporaries, or follow-ups?
- Are there any costs that aren't included that I should expect?
- What's the deposit and refund policy if something changes?
About the clinician:
- How long have you been doing veneers specifically? About how many no-prep cases have you done?
- Are you a specialist, or a general dentist? If a general dentist, do you have specific training in cosmetic or prosthodontic work?
- Can I speak with a previous patient with a similar case?
A great practice will welcome these questions and answer them all. If you sense reluctance or vagueness on any of them, that's data.
The bottom line
No-prep veneers are a beautiful technique when applied correctly. For the right candidate, someone whose goals call for adding fullness, who isn't seeking a drastic color change, and who's committed to careful maintenance, they offer a level of preservation and naturalness that prepared veneers can't match.
For the wrong candidate, they're how cosmetic dentistry goes wrong. The bulky, added-on look that haunts the worst before-and-after photos? Almost always a no-prep case that should have been minimal-prep, or no veneers at all.
The decision isn't really about the technique. It's about whether your situation calls for it. A good consultation answers that question honestly, which is why we'd rather tell you no-prep isn't right for you than do it anyway.
If you're researching this topic and trying to figure out where you fall, the next step is a conversation. We can look at your teeth, talk through your goals, and tell you whether no-prep is the right path, or whether minimal-prep, or another approach entirely, will get you a better result.